
Is your office Wi-Fi struggling with dead zones or slow speeds? It’s easy to blame the internet provider, but often the real culprit is where your wireless access point is placed. In fact, a recent study found 60% of employees lose productivity due to poor internet connections. The good news: by optimizing your Wi-Fi access point placement, you can banish spotty signals and boost speeds. In this guide, we’ll share the secrets to strategic Wi-Fi access point placement – in plain English – so your business stays connected and productive. Whether you run a small office in Chillicothe or a clinic in Kirksville, these tips will help ensure strong, reliable Wi-Fi throughout your space.
Why Proper Access Point Placement Matters
Coverage and Performance: Wi-Fi signals only travel so far and can be weakened by walls or interference. Placing your access point (AP) in the right spot is crucial to ensure the signal reaches all corners of your office at usable strength. A poorly placed router or AP can leave parts of your office with weak reception or dead zones. By contrast, a well-placed AP delivers a strong signal that “just works” seamlessly – so your team never even thinks about Wi-Fi because everything loads fast.
Productivity and Satisfaction: When Wi-Fi is unreliable, work grinds to a halt. Imagine a video call dropping in the middle of a client meeting, or cloud apps timing out during a busy day. It’s frustrating and costly. Strong Wi-Fi coverage keeps your employees productive and customers happy. As mentioned, the majority of employees cite poor Wi-Fi as a productivity killer. Clearly, getting your Wi-Fi right means fewer interruptions and more getting things done.
Security Considerations: Believe it or not, placement affects security too. Weak signals at the edges can tempt employees (or guests) to “piggyback” on neighboring networks if your own Wi-Fi is spotty. Conversely, a properly placed AP with good coverage keeps everyone on your secure network. Also, signals that bleed too far outside (like to the street) could be a risk – you want coverage inside your office, not broadcasting far beyond. Thoughtful placement and tuning can balance coverage with containing your signal to just your premises.
In short, Wi-Fi placement isn’t just IT nitpicking – it’s foundational to daily operations. Now, let’s dig into the secrets of optimal placement.
Start with a Wi-Fi Site Survey (Know Your Space)
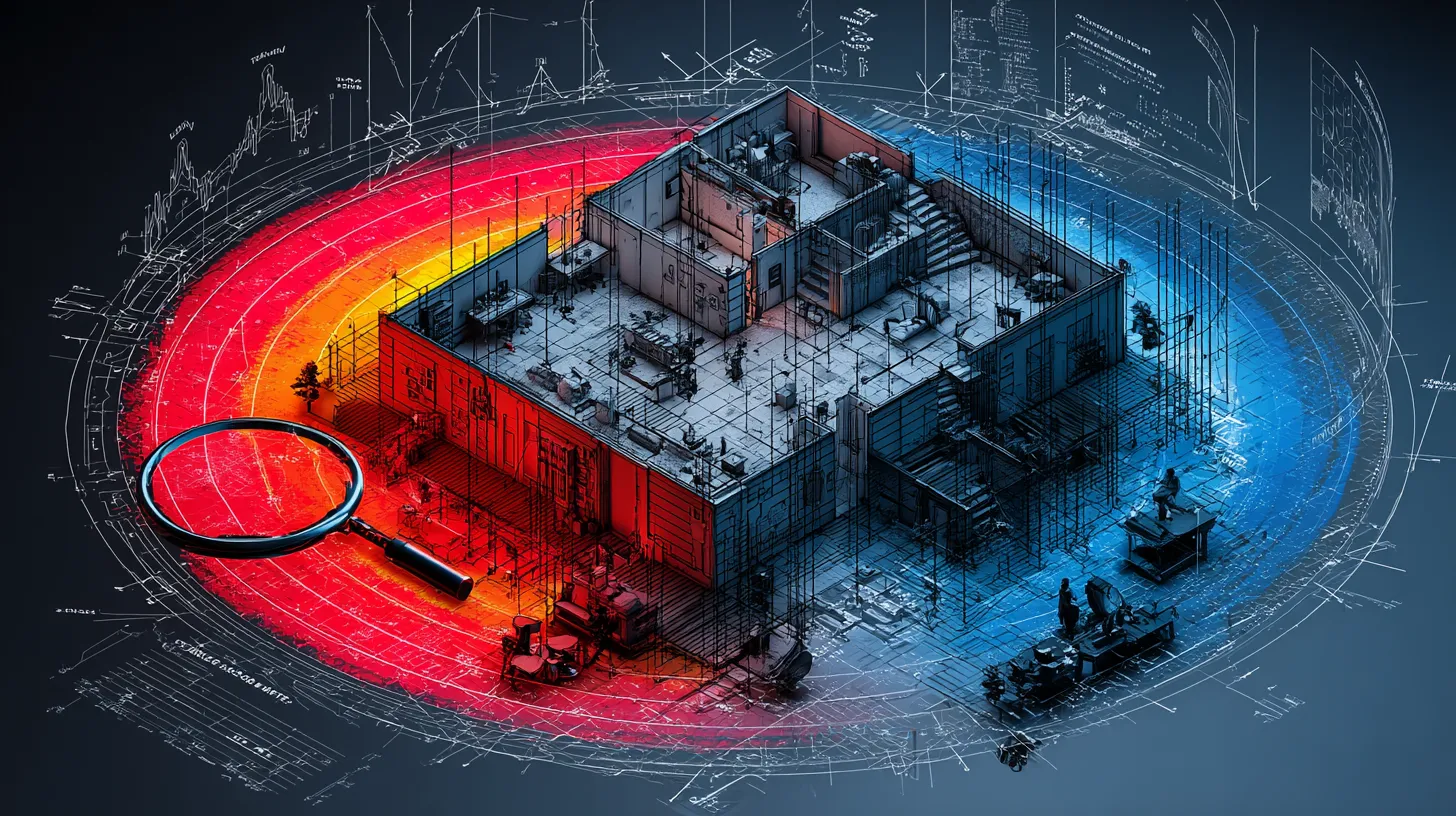
Before moving any equipment, start by surveying your space. Every office layout is different – you may have thick brick walls, metal shelving, or just a quirky floorplan. A wireless site survey (even a simple DIY one) maps out signal strength and spots trouble areas. Walk around with a laptop or smartphone Wi-Fi analyzer app to see where your current signal drops. Identify any dead zones or weak spots.
Key things to look for in a survey:
- Physical Obstacles: Note walls, large furniture, metal file cabinets, or glass windows. These can all weaken Wi-Fi signals. For example, brick and concrete walls are dense and can absorb or block Wi-Fi, causing significant signal loss. Older buildings in Missouri (like many offices in Chillicothe’s historic downtown) often have brick or cinder block construction – prime suspects for Wi-Fi trouble.
- High-Traffic Areas: Where do people use Wi-Fi the most (conference rooms, open work areas, waiting rooms)? Ensure those spots get strong coverage.
- Interference Sources: Look for electronics that could interfere. Common culprits include microwave ovens, cordless phones, Bluetooth devices, security cameras, and even large TVs. For instance, a breakroom microwave operates on the 2.4 GHz band – same as Wi-Fi – and can knock out wireless signals when running. Make a note if your router is near any of these noise-makers.
By surveying first, you’ll have a game plan of where Wi-Fi help is needed. It takes the guesswork out of placement and often reveals the hidden reasons for your Wi-Fi woes (like that mystery dead spot right under the metal staircase). As one IT provider notes, a survey identifies weak zones and interference so you can take targeted action.
Placement Best Practices for Maximum Coverage
Once you understand your space, apply these Wi-Fi access point placement best practices to maximize coverage and performance:
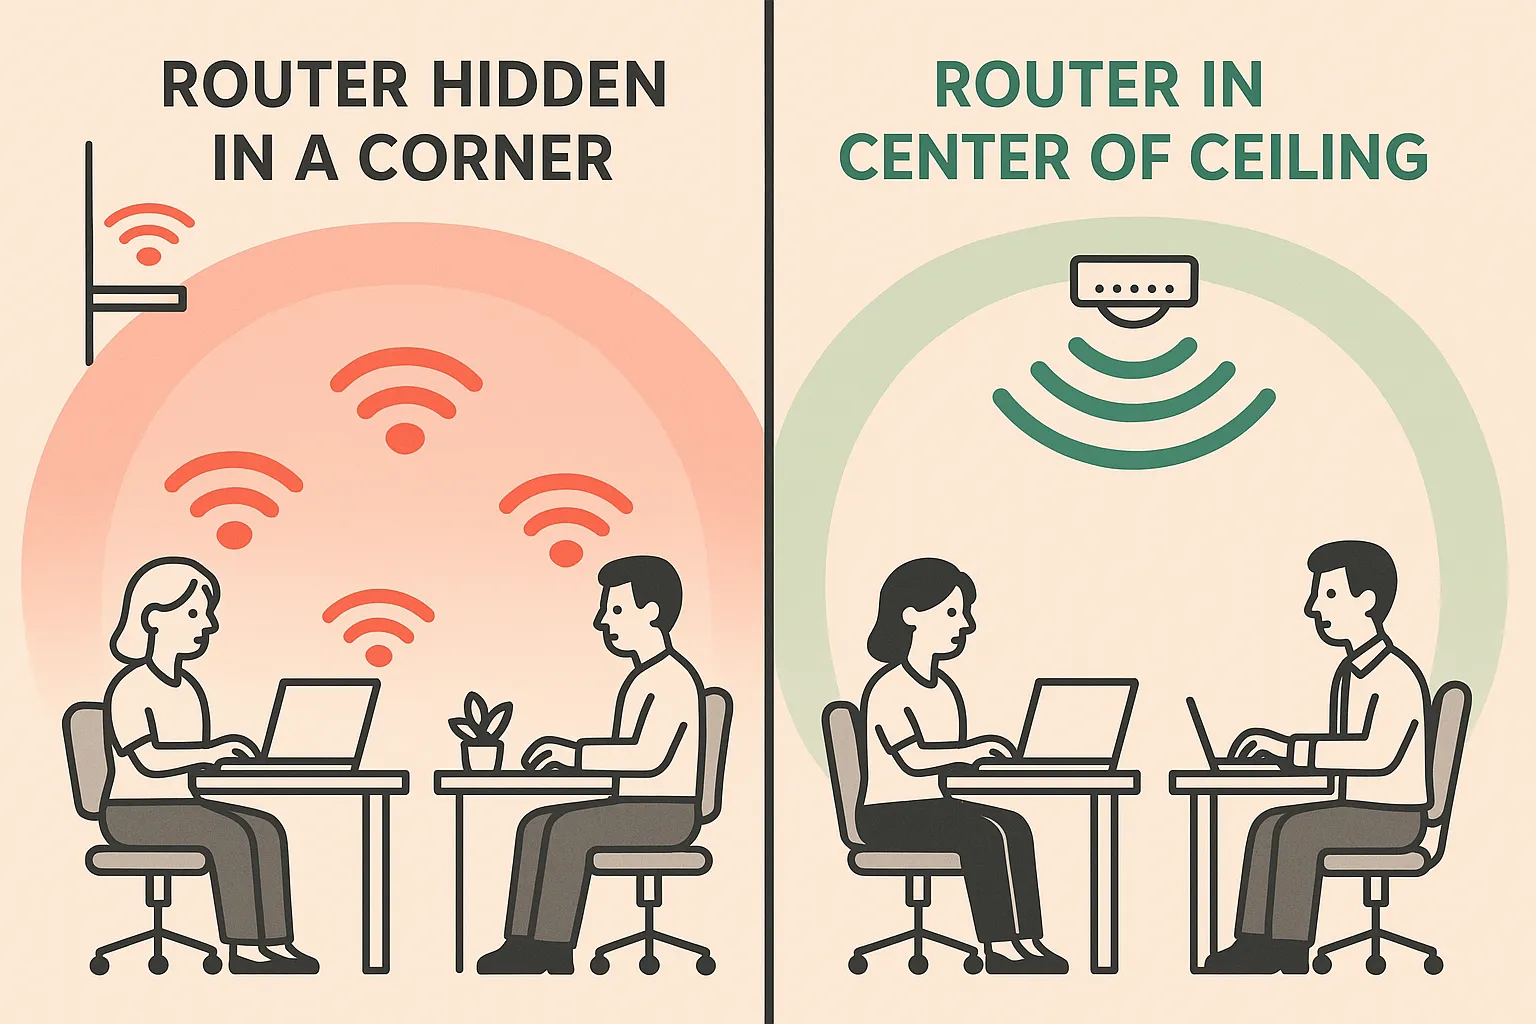
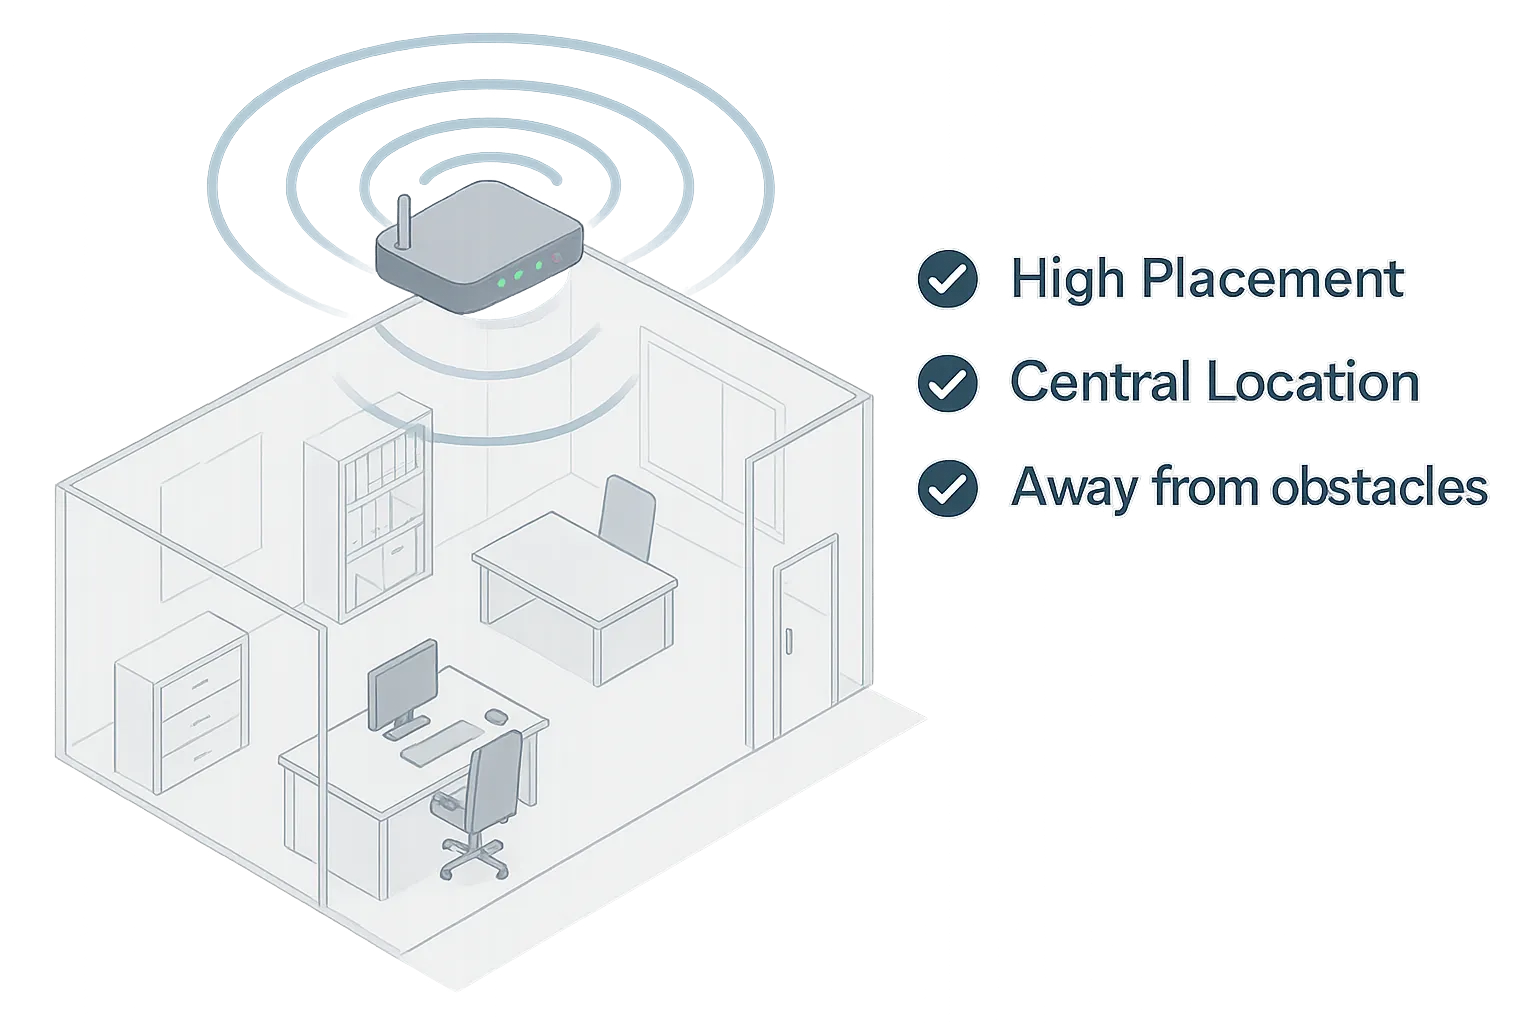
- Centralize the Access Point: For broad, even coverage, place your router or AP in a central location relative to the area you need to cover. Wi-Fi broadcasts radio waves in all directions, so centering it helps reach the entire office. Avoid sticking it in a far corner or against an exterior wall – that just sends half your signal out the door (one tip: don’t put the router right next to a window, or you’ll beam Wi-Fi to the parking lot instead of the office!).
- Elevate the AP (Height Matters): Mount the AP high up – ideally on or near the ceiling – for best signal distribution. Wi-Fi signals propagate outward and downward. Placing the AP at ~6 to 8 feet off the ground (1.8–2.4 m) helps the signal clear cubicle walls and furniture. That higher vantage point also reduces interference from desks, chairs, and human bodies. Ceiling-mounting is often preferred over wall-mounting because it provides a more uniform, 360° coverage area. (Wall mounts can work for smaller rooms or where ceiling mounts aren’t possible, but ceilings generally give superior reach.)
- Avoid Obstructions: Wi-Fi hates having its line-of-sight blocked. Keep your AP out in the open, away from thick walls, metal cabinets, or above drop-ceilings with ducts/pipes. Even large plants or stacks of paperwork can dampen signals. A best practice is to place APs away from any corners or dense objects that could shadow the signal. For example, don’t hide the router in a closet or tuck it under a metal desk – you may value the aesthetics of a clutter-free office, but you’ll pay with a weak Wi-Fi signal. (Pro tip: Also avoid hiding APs above false ceilings – not only can metal infrastructure up there kill the signal, but it makes the device hard to service later.)
- Use Multiple Access Points for Large Areas: One AP can only handle so much area and so many devices. In a typical modern construction with minimal interference, a single wireless access point might effectively cover around 2,000–3,000 square feet. If your office is larger than that or has many walls, don’t rely on just one router. It’s better to deploy multiple APs to spread coverage evenly than to crank up one unit’s power (which can cause other issues). Overlapping coverage between APs is okay (even desirable) as long as you place them on different channels to avoid interference. Many business-grade Wi-Fi systems (or mesh networks) can automatically manage channel selection for you. The goal is to ensure every corner of your office gets a strong signal from at least one AP.
- Mind the Distance Between APs: When using multiple units, space them appropriately. Each AP’s range will depend on office layout, but a rough rule is keep them far enough that their coverage circles just overlap at the edges (to allow “roaming” between APs without dead gaps). Too close and they might interfere; too far and you’ll have weak spots. For example, in an open floor, you might place an AP at each end of a long office rather than two side by side. Stagger placement if they’re on different floors (more on that below) to avoid stacking signals directly on top of each other.
- Avoid Electronic Interference: Keep your AP away from electronics or appliances that emit radio noise. As mentioned, devices like microwaves, old cordless phones, baby monitors, or even certain industrial equipment can wreak havoc on Wi-Fi. Don’t mount an AP right next to these items. Also, beware of break rooms or kitchens – if your floorplan forces a placement near there, try using the 5 GHz band primarily on that AP (since microwave ovens interfere mostly with 2.4 GHz signals). In general, give the AP some breathing room away from large electronics or tangled electrical cords to minimize interference and signal noise.
Following these best practices sets a strong foundation. For instance, one network hardware guide sums it up simply: install APs central and high, away from walls and interference, and not too close together. With that in mind, let’s consider some special scenarios like multi-floor buildings and high-density environments.
Multi-Floor Offices and High-Density Areas
Offices come in all shapes and sizes. You might have a two-story building, a warehouse-like space, or simply an office packed with devices. Here are additional placement secrets for these scenarios:
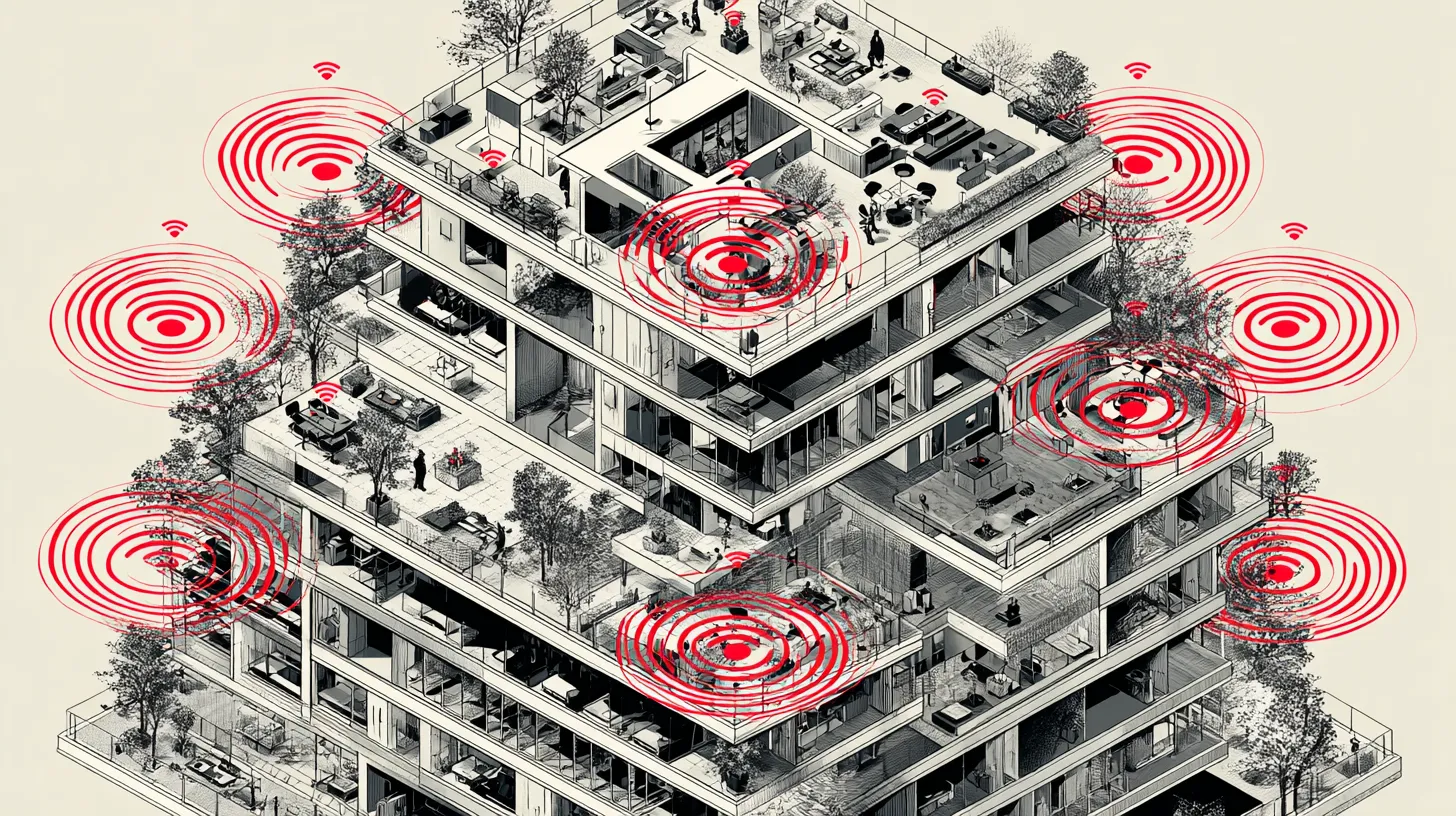
Multi-Story Buildings: Wi-Fi signals radiate outward in a somewhat spherical shape – they go up and down as well as sideways. If you have two or more floors to cover, you’ll likely need an AP on each floor for best results. A common approach is to place an AP on the top floor, since Wi-Fi tends to propagate downward effectively. For example, putting a ceiling AP on the second floor can often cover parts of the first floor below it. However, don’t assume one device will cover everything – the floor/ceiling construction (concrete vs. wood) greatly impacts signal strength between levels. In multi-floor deployments with multiple APs, stagger the vertical placement: don’t mount them directly above/below each other on different floors. Staggering helps reduce interference between floors and fills in coverage gaps (imagine a zig-zag pattern when viewed from the side). Also, pay attention to channel overlap vertically – APs above and below each other should be on different Wi-Fi channels whenever possible. In tricky cases (like an AP on one floor interfering with another floor’s AP), technicians might lower the transmit power on one of them or adjust channels to mitigate overlap. The bottom line: multi-level buildings need a careful placement plan so each floor gets great Wi-Fi without the floors clobbering each other’s signals.
High-Density or Large Spaces: If your business has a lot of devices (think dozens of laptops, tablets, IoT devices, etc.) or a large open area, plan for more access points with lower range each. In a typical small office, one AP per ~2,500 sq. ft. might suffice. But in dense environments – say a medical clinic with many devices or a school computer lab – you may need an AP for every ~1,000–1,500 sq. ft. to ensure capacity. Don’t overload a single AP with too many users or too much area; Wi-Fi has finite bandwidth. It’s often better to have several APs handling a moderate load each than one AP handling everything at its limit. Business-grade Wi-Fi systems allow multiple APs to work as a unified network (with the same SSID) so devices seamlessly connect to the best signal available. When adding APs for capacity, just remember to properly channel-plan (or use auto channel selection) so that adjacent APs aren’t screaming over each other on the same frequency. Also avoid placing APs too close to one another in a big room – more is not always merrier, as overlapping signals on the same channel cause interference and can actually hurt performance if uncoordinated. Aim for a Goldilocks solution: enough APs to handle the load, but not so many that they crowd the airwaves.
Special Note – Warehouse or Large Hall Spaces: If you have a warehouse, gymnasium, or other atypically large space, the same principles apply with a twist. These spaces often have high ceilings and may use directional antennas. In a warehouse with tall metal racks, for instance, you might mount APs on the ceiling or high on walls pointing down aisles. The rule of thumb here is no more than two walls (or aisles of shelving) between the AP and users for line-of-sight. And remember, metal is Wi-Fi’s worst enemy – heavy machinery, metal shelving, or even foil-backed insulation can create dead zones. You may need more APs in a warehouse to work around these obstacles, and possibly specialized ones (weather-proof, external antennas) for large open or outdoor areas. This goes beyond typical office needs, but it’s good to know if you ever expand into a big facility.
Avoiding Common Wi-Fi Mistakes (Placement Pitfalls)
Even with the best intentions, a few mistakes in AP placement can derail your office Wi-Fi. Watch out for these common pitfalls:
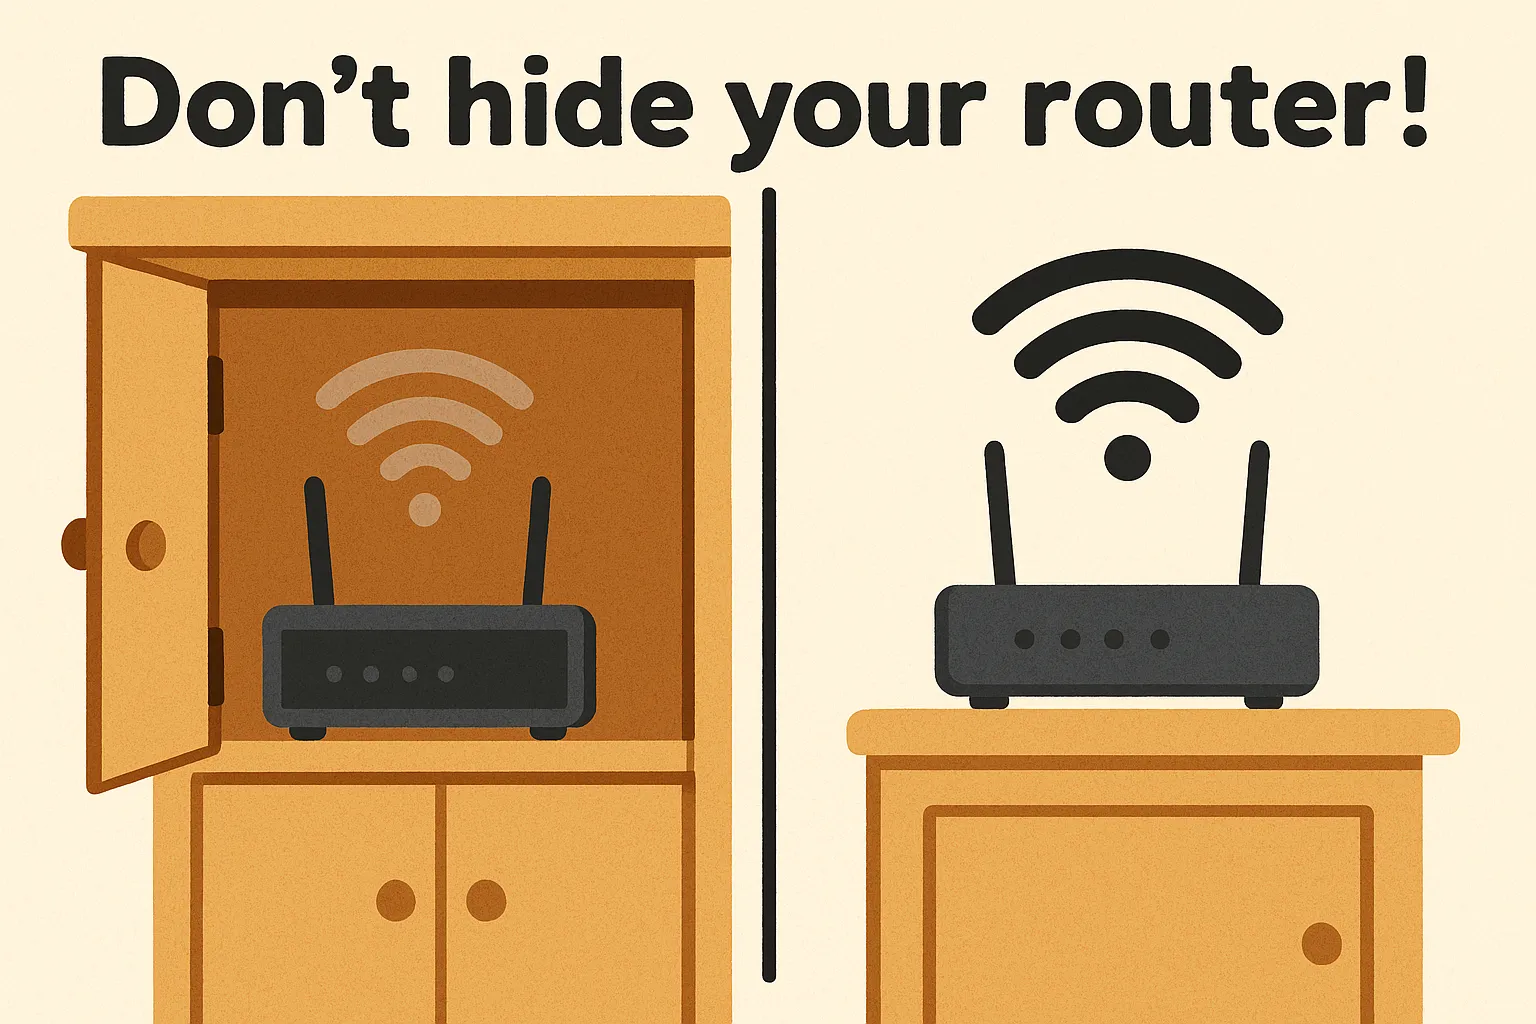
- Hiding the Router/AP for Aesthetics: We get it – wireless routers aren’t exactly décor. It’s tempting to stash that blinking box in a closet or above the ceiling tiles. Resist the urge! Hiding your AP can significantly weaken your signal (walls/doors attenuate it) and make it harder to reboot or service the device. As one wireless expert notes, an overly hidden AP is a mistake that makes it “nearly impossible to service later” and often places it near things that block signal. Keep your AP visible and unobstructed – modern units are often white, low-profile devices that can blend into a ceiling or shelf anyway.
- Placing APs in Vulnerable Spots: The opposite of hiding is putting the AP out in the open too much – like in a spot where it can be kicked, bumped, or tampered with. Avoid mounting routers in hallways where a cart or person could easily knock them down, or in unsecured public areas where someone could unplug or meddle with them. Mounting on a ceiling or high wall in a stable manner is ideal. If you’re in a location like a school or public venue where people could mess with the AP, consider protective enclosures – but ensure the enclosure is Wi-Fi transparent (plastic is fine; metal is not!).
- Using Home-Grade Gear for Business: This isn’t a placement issue per se, but it’s related. Many small businesses start out using an inexpensive home router to provide Wi-Fi, plunked on a desk somewhere. That might be okay for 2-3 people, but as you grow, it won’t cut it. Consumer Wi-Fi routers aren’t built for dozens of concurrent devices or wide coverage. If you find yourself rebooting the router often or still seeing dead zones despite good placement, it might be time to upgrade to a business-grade access point (from brands like Cisco, Ubiquiti, etc.). These allow proper mounting (ceiling PoE access points) and can handle heavier loads. Power over Ethernet (PoE) is a lifesaver too – it lets you run network cable to ceiling-mounted APs without needing a power outlet up high. So if your ideal placement is somewhere without an outlet, a PoE-enabled AP solves that. Bottom line: don’t handicap a great placement with underpowered hardware.
- “Set It and Forget It” Syndrome: Wi-Fi environments change. Maybe you renovated, added a bunch of new devices, or a neighbor set up a new network on a conflicting channel. The perfect spot from two years ago might need a tweak today. It’s wise to periodically check your Wi-Fi performance and adjust if needed. This could mean re-surveying after major layout changes or simply scanning channels if things feel slower (your AP might be stuck on a congested channel, for example). Don’t be afraid to relocate an AP a few feet or to a better room if you notice consistent issues – a small move can sometimes significantly improve signal quality.
By avoiding these pitfalls, you’ll sidestep a lot of Wi-Fi headaches. Remember, the goal is a reliable, strong signal everywhere you need it, with minimal fuss.

Adapting Wi-Fi to Your Office Type (Industries)
Every environment has unique needs. Here’s how placement considerations might vary across different sectors, all of which Pinpoint Tech serves in north-central Missouri:
- Small Offices & Retail: Small businesses often start with one router. Make that one count by centralizing it in the workspace (not in the back office on the floor!). If you have a front-of-house (like a shop area) and a back office, you may need a range extender or a second AP to cover both. Prioritize coverage where customers and employees actually use Wi-Fi. In a small space, a single well-placed AP (centrally, high up) can do wonders. We often help small Chillicothe offices replace their single corner router with a ceiling AP in the middle of the floor – the difference is night and day.
- Healthcare Clinics & Offices: Clinics and medical offices have lots of rooms (exam rooms, waiting areas) with walls that can block Wi-Fi. There’s also potentially interference from medical equipment. Here, it’s common to put access points in hallways or even inside larger patient areas to guarantee coverage. Reliability is key – Wi-Fi might be supporting critical tasks like accessing electronic health records or even patient Wi-Fi in waiting rooms. We find that clinics in buildings with lead-lined X-ray rooms or thick concrete walls might need extra APs (higher density) to cover around those dead zones. The goal in healthcare is uninterrupted connectivity for staff and guests, so you may end up installing an AP per major section of the clinic. And as always, avoid placing them near heavy medical machinery that could interfere (or be interfered with).
- Schools & Educational: Schools often have high device density (think a classroom full of tablets or laptops). They also may have older construction. For schools, you’ll typically mount APs in classrooms or hallways near classrooms – not just one per hallway (that can lead to weak classroom signals). Instead, many schools aim for at least one AP per classroom or every other classroom, depending on class size. Placement in schools should also consider that rooms like libraries or auditoriums will need extra coverage. And don’t forget places like admin offices or teacher lounges if they’re separate. A common mistake is putting all APs in corridors; actually, placing some inside rooms can yield better coverage for those spaces. In multi-story school buildings, stagger APs between floors to avoid interference, similar to offices. If your school building in, say, Trenton has thick cinder block walls, plan on more APs for reliable coverage. Also, consider student areas: an AP in a cafeteria or gym (mounted safely out of ball-reach!) to handle large groups.
- Government & Public Offices: City halls, county offices and the like often reside in older buildings with challenging architecture (marble halls, vaults, lots of walls). These offices need stable Wi-Fi for staff and sometimes public guest networks. We’ve seen success by placing access points in open office areas and long hallways to cover adjacent small offices. Don’t assume one unit in an IT room will spread through an entire municipal building – often you need one per wing or floor. Additionally, public sector offices may worry about security, so ensure coverage is strong inside but not leaking out too far where unauthorized users might try to hop on. In practice, that means strategic placement deeper inside the building and adjusting power if needed. For example, a Brookfield city office might use lower transmit power on an AP near the exterior to keep the signal just within the lobby for guest Wi-Fi, while an interior AP handles staff areas at normal power.
The takeaway: the core placement principles stay the same, but you might tweak how many APs and where based on your environment’s layout and usage. Pinpoint Tech has experience from schools to clinics in tailoring Wi-Fi setups – and the right placement plan is always a big part of the solution.

Better Placement, Better Wi-Fi – Let’s Make It Happen
Say goodbye to frustrating Wi-Fi dead spots! By implementing these access-point placement secrets, you’ll be well on your way to a faster, more reliable office network. To recap, start with a survey, position your APs centrally and high, avoid hiding them or letting interference sneak in, and add extra access points as needed for large or busy spaces (with proper planning). Small changes like moving a router onto the ceiling or shifting it away from a brick wall can lead to noticeably stronger signals and happier users.
Every office is unique – and sometimes an expert eye helps to fine-tune the setup. If you’re in north-central Missouri (from Chillicothe and Brookfield to Kirksville and St. Joseph) and struggling with office Wi-Fi, Pinpoint Tech is here to help. We can perform a professional Wi-Fi survey, recommend the ideal placement of access points, and supply business-grade Wi-Fi solutions that banish those dead zones for good. Don’t let Wi-Fi woes hold back your business. Book a consultation with our friendly team today, and let’s boost your office Wi-Fi to where it needs to be – fast, reliable, and everywhere you need it.
Ready to enjoy Wi-Fi that just works? Contact Pinpoint Tech to schedule a consultation and get started on a stronger network!

FAQ: WiFi Placement
What is the optimal height for mounting a Wi-Fi access point in an office?
Is it better to put a Wi-Fi access point on the wall or the ceiling?
How many wireless access points does my office need?
Where should I place my router or access point to get the best Wi-Fi signal?
For the best overall Wi-Fi signal in an office, place your router/access point in a central, elevated location, away from obstructions and interference. In practice, this means:
• Center of your space: Not tucked in a far corner – the goal is roughly equal distance to all areas that need coverage.
• High up: Mount on the ceiling or high on a wall (6–8 feet or more off the floor) so the signal isn’t immediately blocked by office furniture.
• Clear line of sight: Avoid putting the AP inside a cabinet, behind a thick wall, or under a metal desk. Even glass windows or fish tanks can weaken Wi-Fi, so keep it out in the open if possible.
• Away from electronics: Don’t place it right next to devices like microwaves, cordless phones, or large metal objects which emit interference. Even large TV screens or copy machines can introduce noise – a few feet of distance from those helps.
In summary, think of how you’d place a speaker to be heard across the office – middle of the room, up high, unobstructed. Do the same for your Wi-Fi AP to “speak” its signal loud and clear.
What materials or objects interfere with Wi-Fi signals the most?
Thick, dense materials and electronics are the biggest Wi-Fi disruptors. The worst offenders include:
- Metal: Metal filing cabinets, steel walls/doors, metal shelving and racks – these can block or reflect Wi-Fi almost completely. Even a metal-backed whiteboard or cubicle divider can hamper signals.
- Concrete and Brick: Dense walls, floors, or ceilings made of concrete, brick, or cinder block significantly weaken Wi-Fi as the signal must pass through a lot of mass. Older buildings with plaster over brick can be challenging for coverage.
- Water: Large quantities of water absorb Wi-Fi. This could be an aquarium, water heater, or even people (the human body is mostly water, so a crowded room can absorb some signal!).
- Glass: Certain types of glass (especially insulated or wire-mesh glass) can attenuate Wi-Fi, though standard windows are usually okay if not too thick.
- Electronics generating radio noise: Microwave ovens (operating around 2.4 GHz), cordless phones, Bluetooth gadgets, baby monitors, and even fluorescent light ballasts can introduce interference. This interference isn’t about blocking the signal, but jamming it with noise on the same frequencies.
To optimize Wi-Fi, place APs such that their signals avoid as many of these materials as possible (e.g., position APs in front of, not behind, a metal shelving unit) and keep them distanced from major electronic noise sources. Sometimes just relocating an AP a few feet away from a metal beam or elevating it above cubicle walls can dramatically improve line-of-sight and reduce interference.
Sources
- Bastionpoint Technology – “How a Wireless Survey Solves Spotty Wi-Fi for Businesses.” Highlights the impact of poor Wi-Fi on productivity (60% of employees report losses) and emphasizes the importance of a wireless survey for optimizing access point placement. Bastionpoint Technology Blog, Oct 2023.
URL: https://bastionpoint.com/blog/wireless-network-survey/wireless-survey-solves-spotty-wifi/ - Cablify – “Wireless Access Point Placement Best Practices.” Provides best practices for office Wi-Fi AP placement: conduct site surveys, mount APs on ceilings for wider coverage, centralize location, avoid physical obstructions, use multiple APs for large areas, and leverage PoE for flexible installation. Also includes FAQ answers on optimal height (6–8 ft), wall vs. ceiling mounting, and AP coverage per square footage. Cablify Blog, Jan 15, 2023.
URL: https://www.cablify.ca/wireless-access-point-placement-best-practices/ - WatchGuard – “Access Point Placement and Channel Plan Best Practices.” A technical guide outlining AP placement guidelines: install APs centrally and high for maximum coverage (one AP ~2,000 sq. ft. in ideal conditions), keep away from interference sources (microwaves, cordless phones, etc.), space multiple APs properly, and stagger APs on different floors. Also covers channel planning to minimize co-channel interference. WatchGuard Help Center Documentation, © 2025.
URL: https://www.watchguard.com/help/docs/help-center/en-US/Content/en-US/WG-Cloud/Devices/access_point/deployment_guide/best_practices_ap_planning.html - 7SIGNAL – “Tips for Placing Wireless Access Points in Hospitals.” Discusses Wi-Fi AP placement in high-density and challenging environments like hospitals. Notes that some hospitals use 1 AP per ~1,000 sq. ft. (vs. ~3,000 sq. ft. in other networks) to ensure reliable coverage. Warns that too many APs can cause interference if not managed, especially across multiple floors, suggesting reducing transmit power or channel tuning as remedies. 7SIGNAL Blog, Sep 25, 2019.
URL: https://www.7signal.com/news/blog/tips-for-placing-wireless-access-points-in-hospitals - TechTarget – Lee Badman, “Wi-Fi AP Placement Best Practices.” Emphasizes professional planning for AP placement and common mistakes. Advises against hiding APs for aesthetics (hard to service and can degrade signal) and against placing them where they can be tampered with or damaged. Stresses that proper placement depends on environment specifics and that a solid design upfront prevents rework later. TechTarget – SearchSecurity, Jul 10, 2023.
URL: https://www.techtarget.com/searchsecurity/feature/Wireless-AP-placement-basics