Every year, hundreds of thousands of burglaries affect U.S. businesses and homes (847,522 burglaries were reported in 2022 alone). Installing security cameras is a smart way to protect your property – but common installation mistakes can leave glaring security gaps. Small businesses in north-central Missouri – from Chillicothe to Kansas City – often invest in surveillance, yet simple errors during setup can undermine the entire system’s effectiveness. In this guide, we’ll highlight six mistakes businesses frequently make when installing security cameras and explain how to avoid them. By steering clear of these pitfalls, you can ensure your surveillance system truly keeps your business secure. Let’s dive in!
Poor Camera Placement (Blind Spots & Accessibility)
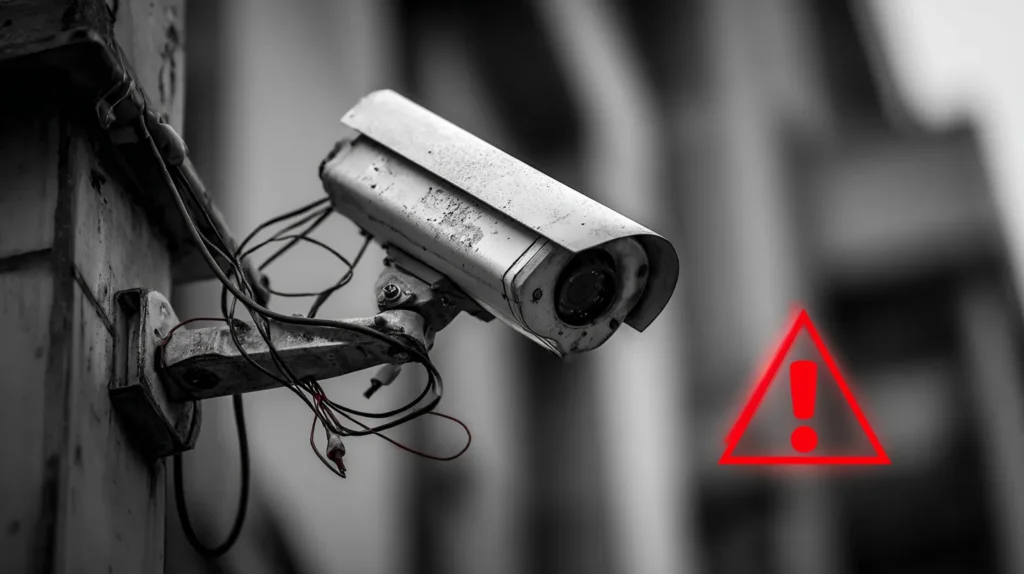
One of the most frequent and costly mistakes is poor camera placement. If cameras are positioned too high, too low, or pointed the wrong way, you can end up with coverage gaps and unusable footage. It’s not enough to simply stick cameras near doors – you need to strategically cover all key entry/exit points, high-traffic areas, and vulnerable spots like back windows or loading docks. For example, a small retail shop in Chillicothe might mistakenly mount a camera so low that a person could reach it and tamper with it. In fact, installing cameras too low makes them easy to disable or vandalize – a thief could simply spray paint or knock the camera out of view. Always place cameras high enough (out of reach without a ladder) to deter tampering, while angling them to still capture faces and details.
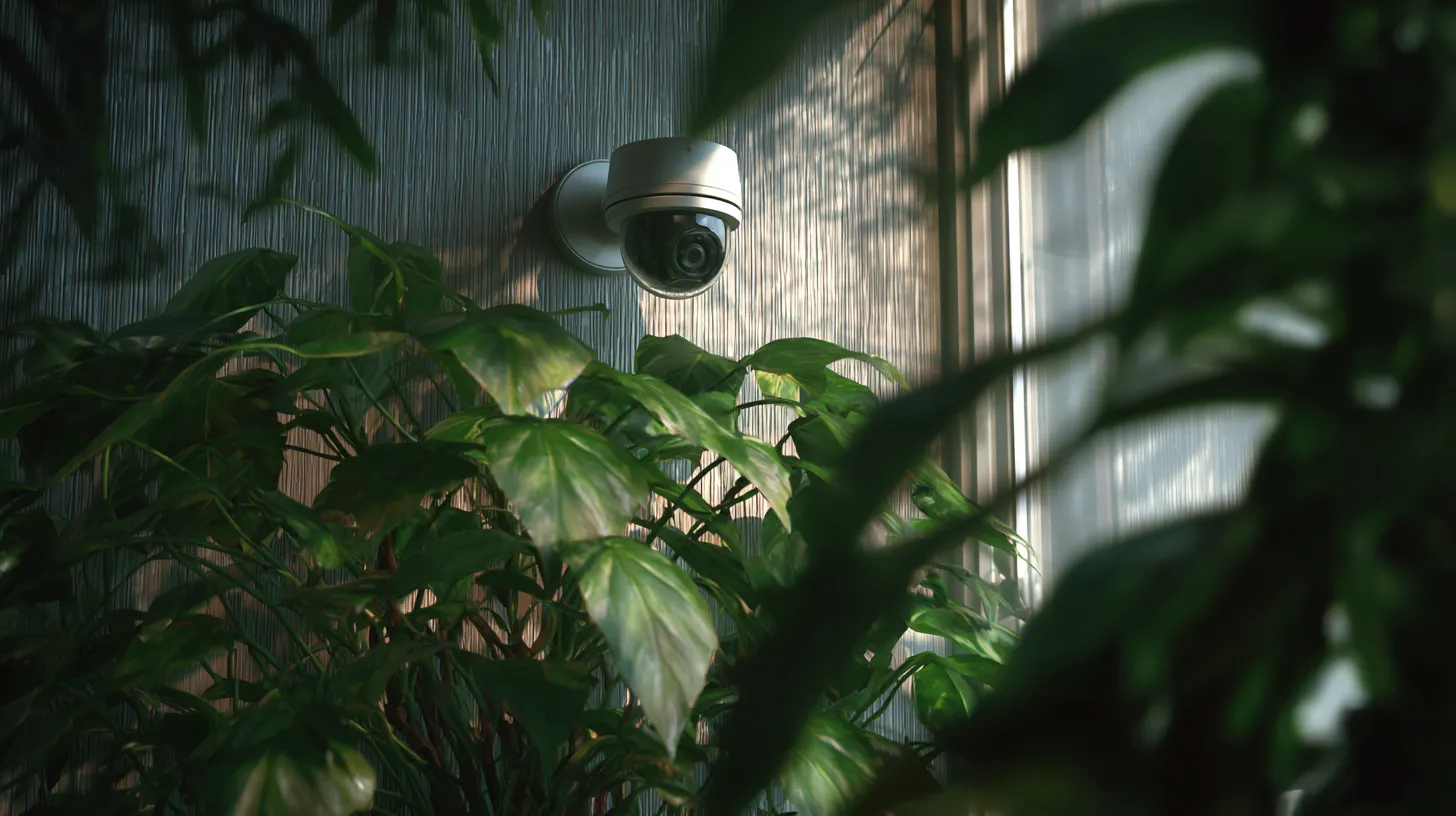
Another placement error is creating blind spots or obstructed views. Mounting a camera behind a sign, under dense foliage, or facing a bright window can leave portions of your property unmonitored. Over time, even growing vegetation can block camera views, so plan clear lines of sight and trim obstacles as needed. And don’t forget indoor cameras if applicable – focusing only on the outside might leave you blind to internal threats like inventory theft. A professional site survey can help determine optimal camera mounting points for full 360° coverage.
Privacy concerns should also guide your placement. Be careful not to point cameras into areas where people have a reasonable expectation of privacy (bathrooms, locker rooms) or onto someone else’s property. Pointing cameras off your property can lead to privacy complaints or even legal issues, so ensure your cameras monitor only your premises. By planning camera placement thoughtfully – high up, unobstructed, covering all critical zones – you’ll avoid blind spots and get the useful footage you need.
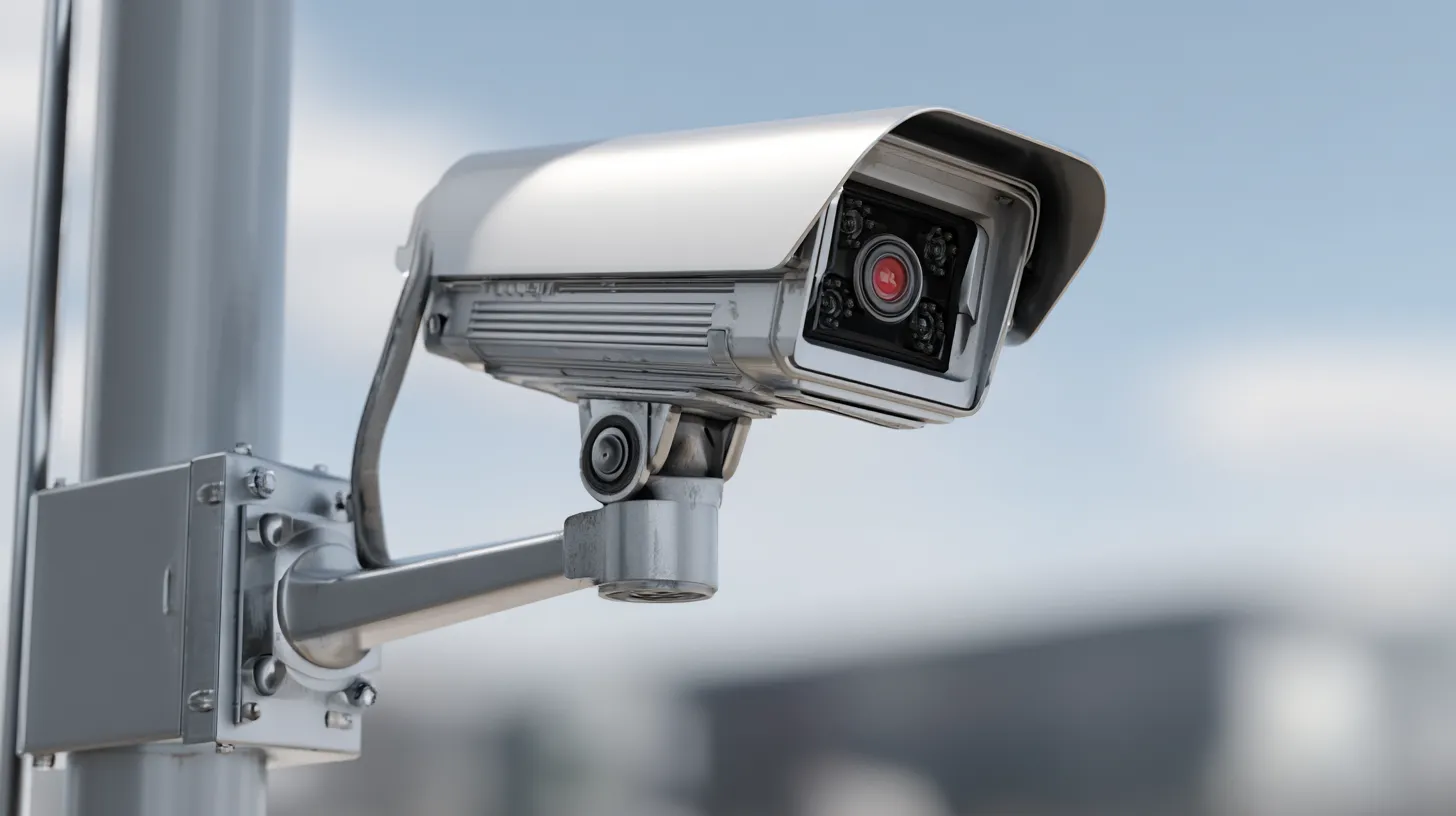
Using the Wrong Camera Type or Quality
Not all security cameras are created equal. Choosing the wrong type of camera for your environment is a common installation mistake that can severely compromise your system’s performance. For instance, using an indoor-rated camera outdoors can spell disaster – it may not withstand rain, snow, or extreme temperatures. A camera meant for indoor climates could quickly fail when exposed to Missouri’s spring storms or winter freezes. Always match camera hardware to the environment: use weatherproof, outdoor-rated cameras for exterior locations (with appropriate IP65+ waterproof ratings and operating temperature range), and use vandal-resistant housings in high-risk areas. As Garber Electric notes, cameras not designed for their location (e.g. indoor models used outside) are prone to damage and can leave you unprotected.
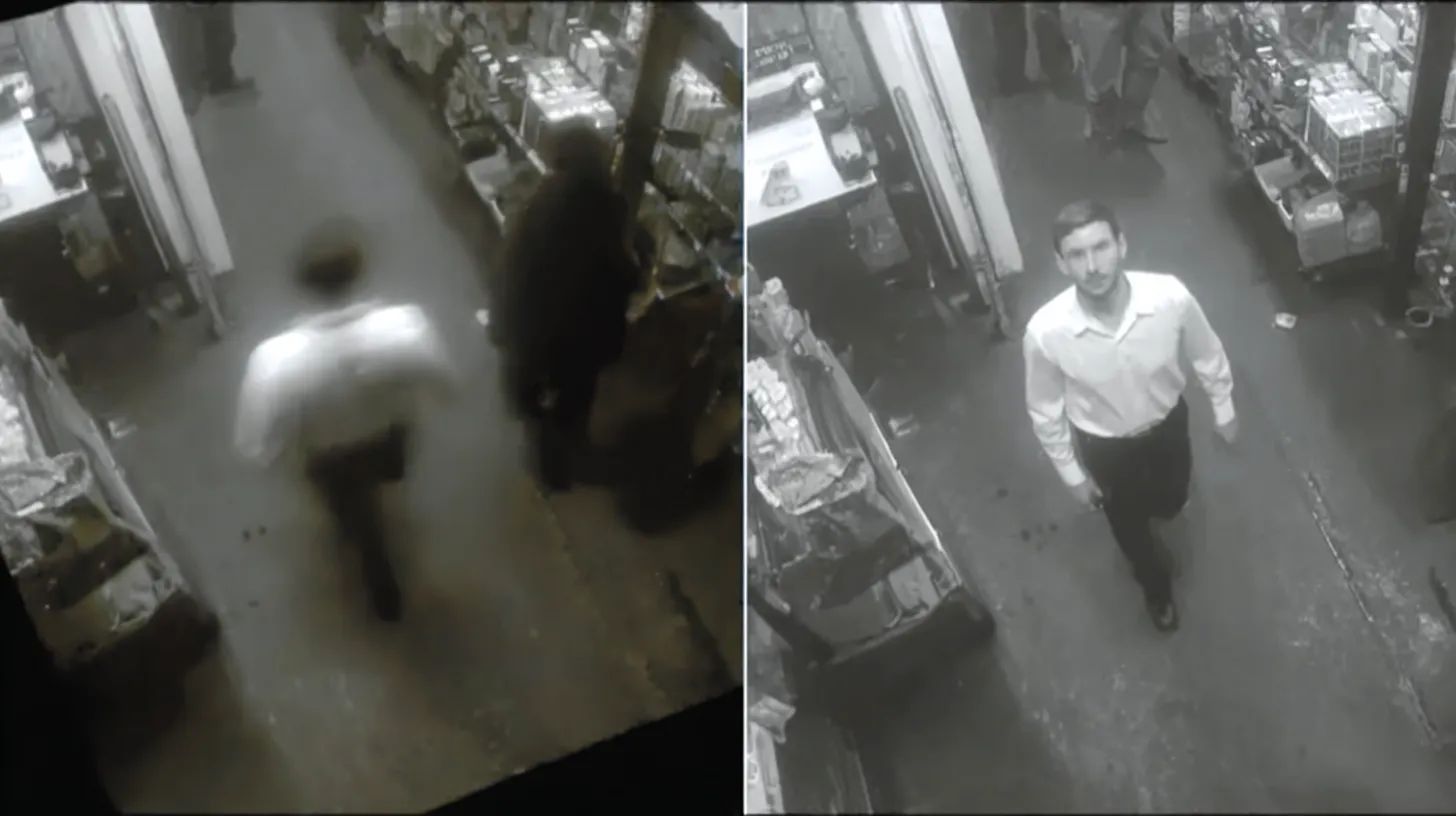
Quality matters too. Low-resolution or cheap camera models might save money upfront, but they often produce grainy footage that lacks crucial details. If your video is too blurry to identify a face or a license plate, it might be as bad as having no camera at all. In one common scenario, a business owner installs a bargain analog CCTV camera system only to find the recordings are so low-def that intruders can’t be recognized. High-resolution (HD/1080p, 4K) cameras with good sensors are essential for capturing clear images, especially for covering wide areas like parking lots. Likewise, consider light sensitivity and night vision: a camera without infrared (IR) LEDs or low-light capability will be useless in a dim environment (more on lighting in the next section). If your lobby in Trenton, MO has large windows, a standard camera might struggle with glare – you may need a wide dynamic range (WDR) camera for balanced exposure. And for outdoor cameras, features like IR night vision and thermal imaging can be game-changers for after-hours security.
In short, pick cameras that fit your specific use-case. Do you need wide-angle views of a warehouse floor, or zoomed detail at an entrance? Are you monitoring a brightly lit reception area or a dark alleyway? Work with an expert to choose the right camera types (dome, bullet, PTZ, etc.), durability ratings, and resolutions. Using the proper high-quality equipment will ensure your footage is usable and your cameras won’t fail prematurely due to misapplication.
Ignoring Lighting and Environmental Factors
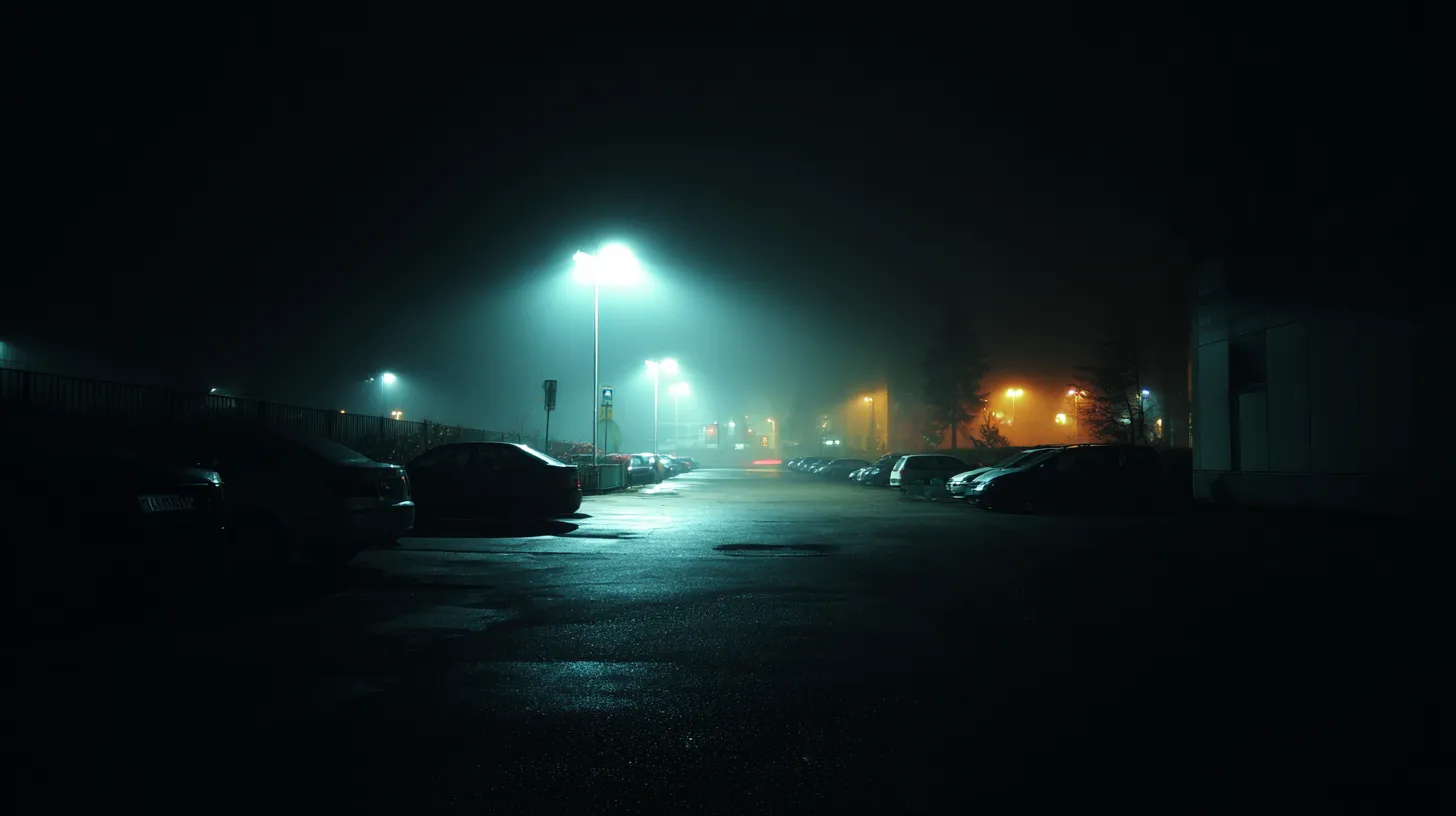
Even the best camera won’t capture useful footage if you ignore the lighting conditions and environment during installation. A very common mistake is setting up cameras without accounting for how lighting changes day versus night. Poor lighting or nighttime darkness can render video feeds practically useless. For example, a camera watching your back parking lot in Brookfield might show clear images at noon, but at midnight the area could be pitch black – resulting in murky, blurry footage where an intruder is just a silhouette. Businesses often overlook adding sufficient lighting or using cameras with night vision. The fix: ensure critical areas have adequate illumination (motion-activated floodlights or consistent ambient lighting), or install cameras with strong infrared/night-vision capabilities for low-light conditions. Modern security cameras with Starlight sensors or IR LEDs can see in very dim settings, but they still have range limits – you might need to supplement them with physical lights for large dark areas. Don’t hesitate to invest in a few outdoor lights; a well-lit property not only improves camera footage but also deters criminals outright.
Lighting isn’t the only environmental factor. Glare and reflections can be just as problematic. Pointing a camera toward a setting sun or a bright streetlight can wash out the image (a phenomenon known as lens flare or glare). When mounting cameras, be mindful of where the sun will be at different times of day. If glare is unavoidable, consider sun shields for the camera, polarizing lens filters, or repositioning the camera angle. Similarly, shifting shadows and headlights (for cameras near roads or parking lots) can trigger motion detection or obscure details; adjusting settings or camera placement can mitigate this.
Finally, consider weather and climate impacts during installation. In northern Missouri and surrounding areas, cameras may face heavy rain, snow, humidity, or high heat in summer. Exposure to severe weather without protection will shorten a camera’s life. Ensure outdoor units are housed in weatherproof casings and sealed against moisture. Extreme temperature fluctuations can also affect electronics, so use equipment rated for the temperature range or install heaters/blowers in enclosures if needed (especially for those cold Midwest winters). Additionally, secure all cables and connections against wind and water ingress – use waterproof conduit or cable covers outdoors. By taking lighting and environmental conditions into account upfront, you’ll avoid ending up with cameras that can’t “see” when it counts or fail due to Mother Nature.
Overlooking Network and Cybersecurity Measures
In the rush to get cameras up and running, many businesses overlook the critical step of securing the network and camera settings. Remember, modern IP security cameras are essentially IoT devices on your business network – if not properly secured, they can be a weak link that hackers exploit. Leaving default passwords on cameras or the recorder (NVR/DVR) is an all-too-common mistake that can completely undermine your security system. Most devices ship with generic admin passwords (“admin/admin” or the like), which are well-known to attackers. If you don’t change them, an intruder could literally log into your camera feeds from anywhere. Always set strong, unique passwords for each camera and your central recording system. It only takes a few minutes during installation to lock down credentials – this basic step provides huge protection.
Another misstep is not updating firmware on the cameras and recorder. Manufacturers regularly release firmware updates to fix security vulnerabilities and improve performance. If you install cameras and never update them, you could be running firmware with known exploits. For example, a vulnerability discovered in 2024 might allow attackers to crash your cameras or spy on your footage – but the patch won’t help you if you never apply it. Make it a habit to check for firmware updates when setting up and periodically afterward. Many enterprise-grade camera systems can auto-update or at least notify you of updates; enable that if available.
Also, encrypt your camera feeds and network where possible. Ensure the Wi-Fi network for wireless cameras (if used) is secured with strong encryption (WPA2/WPA3), and isolate security cameras on a separate VLAN or network segment. This prevents someone who breaches another part of your network from easily accessing the surveillance system. If your cameras support it, enable end-to-end encryption for video streams and stored footage. Some systems allow setting up VPN access for remote viewing rather than port-forwarding through a router, which greatly hardens security. Basically, treat your camera system with the same IT security rigor as you would a server containing sensitive data.
Beyond cyber risks, don’t forget network capacity and reliability. IP cameras can consume a lot of bandwidth. If you put 20 high-definition cameras on an inadequate network, you might get laggy, dropping video feeds or even crash your network during peak usage. During installation, ensure your network infrastructure can handle the load – that might mean using quality network switches, proper cabling (Cat6 or better), and possibly setting up Quality of Service (QoS) to prioritize video traffic. It’s also wise to secure your network equipment physically (lock up that network switch or NVR in a closet) and logically (firewall rules to block unauthorized inbound/outbound camera connections). Overlooking these measures can leave your cameras open to hackers or simply not working when needed. Take the time at install to configure security settings, passwords, and network setup correctly – your surveillance system will be far more resilient for it.
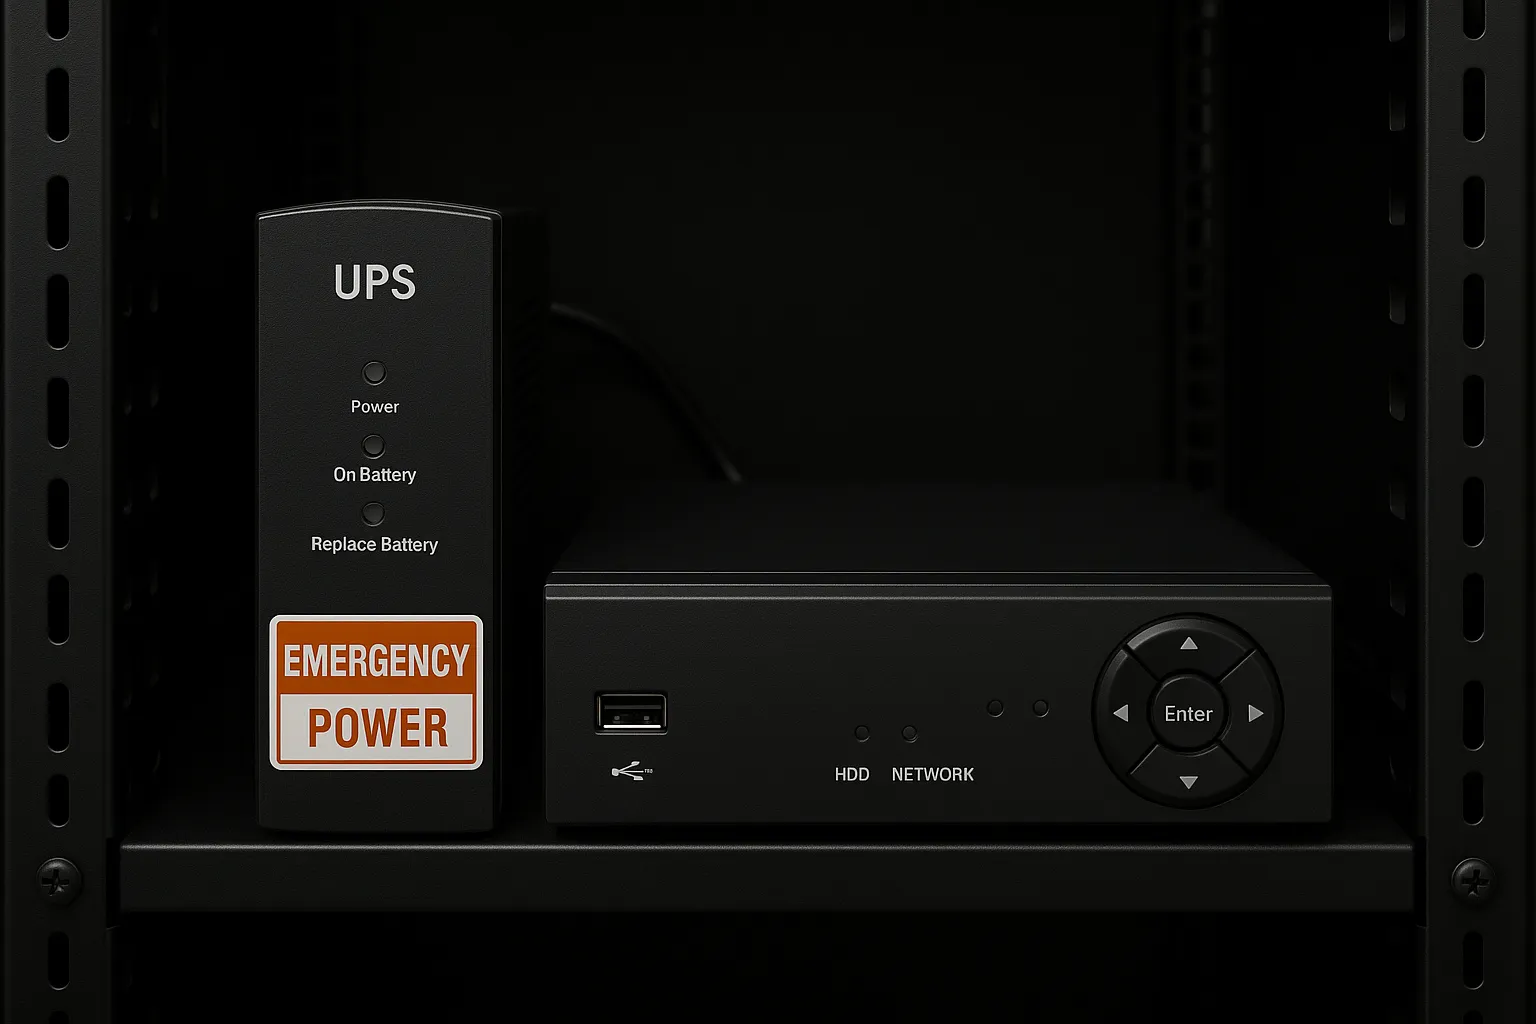
Not Planning for Power Backup and Video Storage
A mistake that often only becomes obvious when it’s too late is failing to plan for power outages and adequate video storage. Your security cameras are only as good as their uptime and recording history. If the power goes out in a storm (not uncommon in Missouri during tornado season or winter ice storms), standard cameras and DVRs will shut down unless you have backup power. Criminals know this – there have been instances where burglars cut power to buildings knowing the cameras will die. In fact, crime rates, including burglary, tend to skyrocket during blackout conditions. The solution is to install an uninterruptible power supply (UPS) or battery backup for critical camera equipment. Even a small UPS unit can keep your cameras and network video recorder running for a short period (30–60 minutes) during an outage, enough to capture evidence of any incident in that window. For longer outages, consider a generator or at least ensure important cameras (like those watching entrances or safes) are on a backed-up power circuit. During installation, it’s much easier to wire in these backups or choose Power over Ethernet (PoE) setups with centralized UPS protection, rather than trying to add it later. Don’t wait until an outage happens – plan for it upfront so your property isn’t left “in the dark” when it’s most vulnerable.
Hand in hand with power planning is adequate video storage. Many businesses underestimate how much storage capacity they need for recorded footage. They install the cameras, set the recorder, but a week later realize the hard drive is overwriting footage every 2 days because it’s full. If an incident is discovered after a weekend, the evidence might already be erased. Avoid this by calculating storage needs during installation: consider the number of cameras, their resolution, frame rate, and how long you want to retain footage (30 days is common for businesses). For example, a 4K camera recording continuously will consume far more space than a 1080p camera on motion-detect mode. Use tools or consult with your installer to estimate needed hard drive size or cloud storage plans. It’s often better to err on the side of more storage – modern NVRs can support multiple terabyte drives, and storage is relatively cheap compared to the cost of losing critical video. Also, configure intelligent recording (motion-triggered recording, lower frame rate during inactivity, etc.) to optimize space.
Lastly, secure your recordings. If you’re saving footage to a cloud service or offsite, ensure it’s a reputable, encrypted service. If local, consider redundant storage (RAID drives or backing up important clips). Inadequate storage or losing power at the wrong moment could mean vital security footage isn’t there when you need it. During installation, put a plan in place for both reliable power and sufficient storage so your cameras truly keep watch 24/7.
DIY Installation Pitfalls vs. Professional Setup
Conclusion: Secure Your Surveillance the Right Way
Installing security cameras is one of the best moves you can make to protect your business – but only if the job is done correctly. Avoiding these six installation mistakes will ensure your surveillance system actually strengthens your security instead of accidentally weakening it. From thoughtful placement and proper equipment choices, to shoring up cybersecurity and backup plans, a little extra attention during installation goes a long way toward a safer, smarter security camera system.
If you’re unsure about any step of the process or simply want the job done right, consider letting professionals handle it. Pinpoint Tech’s team has experience designing and installing surveillance setups for businesses across north-central Missouri, and we’re ready to help you sidestep these common pitfalls. In the end, a well-installed camera system means you can keep an eye on what matters most – and sleep easier knowing your business is secure.
Ready to bolster your security camera setup? Contact Pinpoint Tech today for expert installation or a system review. We’ll make sure your cameras are secured, so you can focus on running your business with confidence.

Frequently Asked Questions (FAQs)
Where is the best place to install security cameras to avoid blind spots?
What type of security camera is best for my business (indoor vs. outdoor)?
It depends on your environment. Outdoor cameras should be weatherproof (rated for rain, dust, and temperature extremes) and ideally have night vision for dark conditions. They often come in sturdy enclosures to resist tampering. Indoor cameras can be smaller and don’t need heavy weather sealing, but you might opt for models with high resolution for detailed footage. For any camera, consider features like resolution (at least 1080p HD or higher for clarity), low-light performance (infrared LEDs or Starlight sensors if monitoring in darkness), and field of view (wide-angle for broad areas or varifocal for adjustable zoom). If your business has both indoor and outdoor areas, you’ll likely need a mix of camera types optimized for each setting. Consult with an installer or reference your environment’s specific needs – e.g., a warehouse might need long-range bullet cameras, while a small office could use compact dome cameras.
Do I need special lighting or night vision for my security cameras?
Good lighting dramatically improves camera effectiveness. If your cameras monitor areas that are dark at night (parking lots, alleys, storerooms with lights off), you have two options: add lighting or use night-vision cameras. Adding motion-activated floodlights near cameras can not only help the camera capture clear footage but also deter intruders by spotlighting them. On the other hand, most modern cameras come with infrared night vision, allowing them to see in darkness (usually as black-and-white images). These work well up to a certain range (check the camera’s IR range spec). For completely unlit indoor spaces, you might consider small always-on LED night lights or use cameras with advanced low-light technology. In summary, if you can’t guarantee some lighting, invest in cameras with strong night vision. And avoid pointing cameras directly at very bright light sources – that can cause glare; angle them wisely or use WDR (Wide Dynamic Range) cameras for challenging light conditions.
How can I protect my security camera system from being hacked?
Securing your cameras is crucial since they’re connected to your network. Start by changing all default passwords on your cameras and recorder to strong, unique passwords – default logins are a known vulnerability. Next, keep the firmware updated on all devices; manufacturers release patches for security flaws, so staying up-to-date closes those holes. It’s also wise to isolate the camera network: have cameras on their own VLAN or router separate from your main business network, and use a firewall to block unwanted access. Ensure your Wi-Fi (if cameras are wireless) uses WPA2/WPA3 encryption with a strong passphrase. Enable features like two-factor authentication on your camera system if available – this prevents unauthorized logins even if a password is stolen. Finally, for remote viewing, use secure methods (like a VPN into your network or the camera manufacturer’s cloud service) rather than exposing cameras via port forwarding. By taking these steps, plus general IT best practices, you greatly reduce the risk of someone hacking into your surveillance feeds.
How can I keep security cameras running during a power outage?
Should I install security cameras myself or hire a professional?
Sources
- Bankrate – “Burglary Statistics 2024.” FBI crime data shows 847,522 burglaries were reported in 2022, a jump from 2021 (though still lower than earlier years). https://www.bankrate.com/insurance/homeowners-insurance/house-burglary-statistics/
- Garber Electric – “Mistakes to Avoid During Security Camera Installation.” Emphasizes that improper camera placement (too high/low or wrong direction) causes blind spots and unusable footage, and highlights ensuring full coverage of entrances, high-traffic and vulnerable areas. Also notes mistakes like choosing wrong camera types (indoor vs outdoor, low resolution) and neglecting lighting in surveillance planning. https://www.garberelectric.com/mistakes-to-avoid-during-security-camera-installation/
- Secure IT Securities – “6 Security Camera Installation Mistakes and How to Avoid Them.” Advises against DIY errors: most installation mistakes occur when people install cameras themselves instead of using professionals. Also underscores having backup power, since burglary spikes during power outages – security cameras should stay online when your property is most vulnerable. https://www.secureitsecurities.com/blog/6-security-camera-installation-mistakes-and-how-to-avoid-them
- RMS Installs – “Common Mistakes to Avoid When Installing Security Cameras” (April 15, 2025). A security installer’s insights: stresses not overlooking network security (change default passwords, update firmware, use encryption). Recommends avoiding low camera placement (easy to tamper) and not pointing cameras off-property (privacy issues). Also covers adjusting for poor lighting and weather (provide light or use night vision, protect cameras from rain/sun). https://www.rmsinstalls.com/blog/common-mistakes-to-avoid-when-installing-security-cameras.html
- Kew Solutions – “The Common CCTV Installation Mistakes to Avoid for Businesses” (Nov 5, 2024). A comprehensive guide discussing issues like obstructed views (trees, signs causing blind spots), not updating firmware (leaving systems open to cyber vulnerabilities), substandard hardware (blurry low-res footage), and weak security measures (default credentials making cameras easy prey for hackers). https://www.kewsolutions.com/common-cctv-installation-mistakes/
- CNN – Report on NYC power outage and crime. Referenced by Secure IT: during major power outages, crime rates (including burglaries) can surge, highlighting the importance of keeping security systems powered during blackouts. (Original CNN article: July 2019). https://www.secureitsecurities.com/blog/6-security-camera-installation-mistakes-and-how-to-avoid-them https://www.cnn.com/2019/07/14/us/new-york-city-power-outage-42-years-trnd