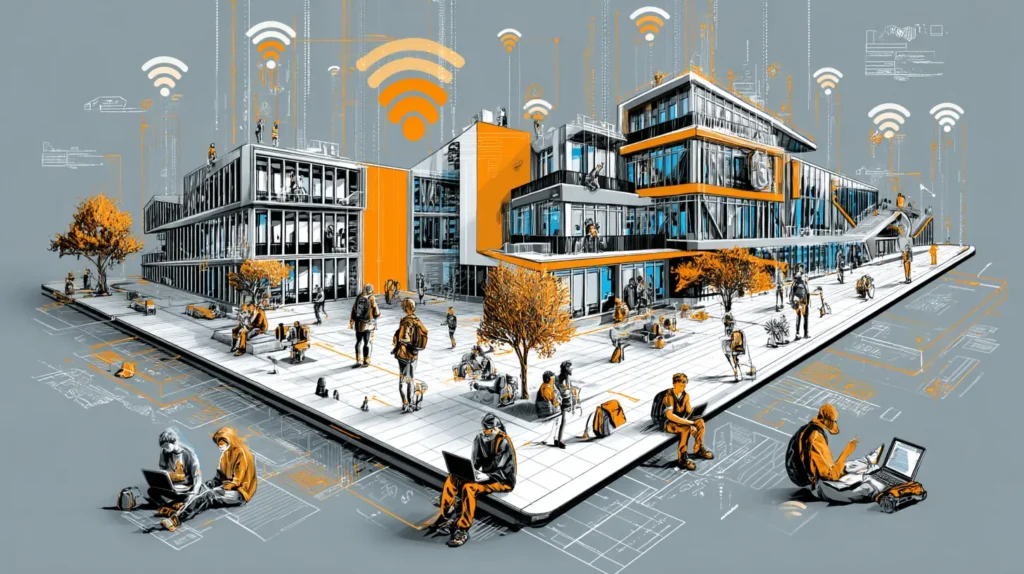
Introduction
Perform a Thorough Wi-Fi Needs Assessment 📋
- Coverage Areas: Map out all the locations that need wireless coverage. This includes classrooms, libraries, labs, cafeterias, gymnasiums, auditoriums, dormitories, administrative offices, and even outdoor quads or sports fields on a college campus. Don’t forget less obvious spots like hallways or school buses (if they’re on campus during the day). Every area where students or staff work should be on the Wi-Fi coverage map.
- Device Inventory: Count the number and types of devices that will connect. Include district-owned devices (e.g. student Chromebooks, teacher laptops, smart boards, IoT devices like printers or security cameras) and personal BYOD gadgets (student smartphones, tablets, etc.). The new norm is roughly “2 devices per student in K-12 and 3-5 devices in higher education” – far more than a single device per user. For example, Chillicothe R-II School District in Missouri recently acquired 350 new Chromebooks for students, instantly adding hundreds of additional Wi-Fi clients. Expect that many users will connect multiple devices at once (e.g. a laptop and a phone), and plan accordingly for this density.
- Application Needs: Identify what the network will be used for. Will students be streaming HD video lessons, joining video calls, or taking online exams simultaneously? Are teachers using cloud-based apps or interactive smartboards? High-bandwidth activities (video streaming, large file downloads, VR/AR applications) and low-latency needs (online testing, live lectures) will drive capacity requirements. Also consider special events – like standardized testing days or school assemblies – that might spike usage.
- Current Pain Points: Audit any existing network for dead zones or slow spots. Where do users complain about weak signals or dropped connections? Perform a site survey if possible – walk the campus with a Wi-Fi analyzer to measure signal strength in various locations. This survey will reveal coverage gaps, interference (e.g. from thick walls or metal lockers), and areas of high utilization. For a new building, consider a predictive site survey using floor plans and Wi-Fi planning software to estimate coverage.

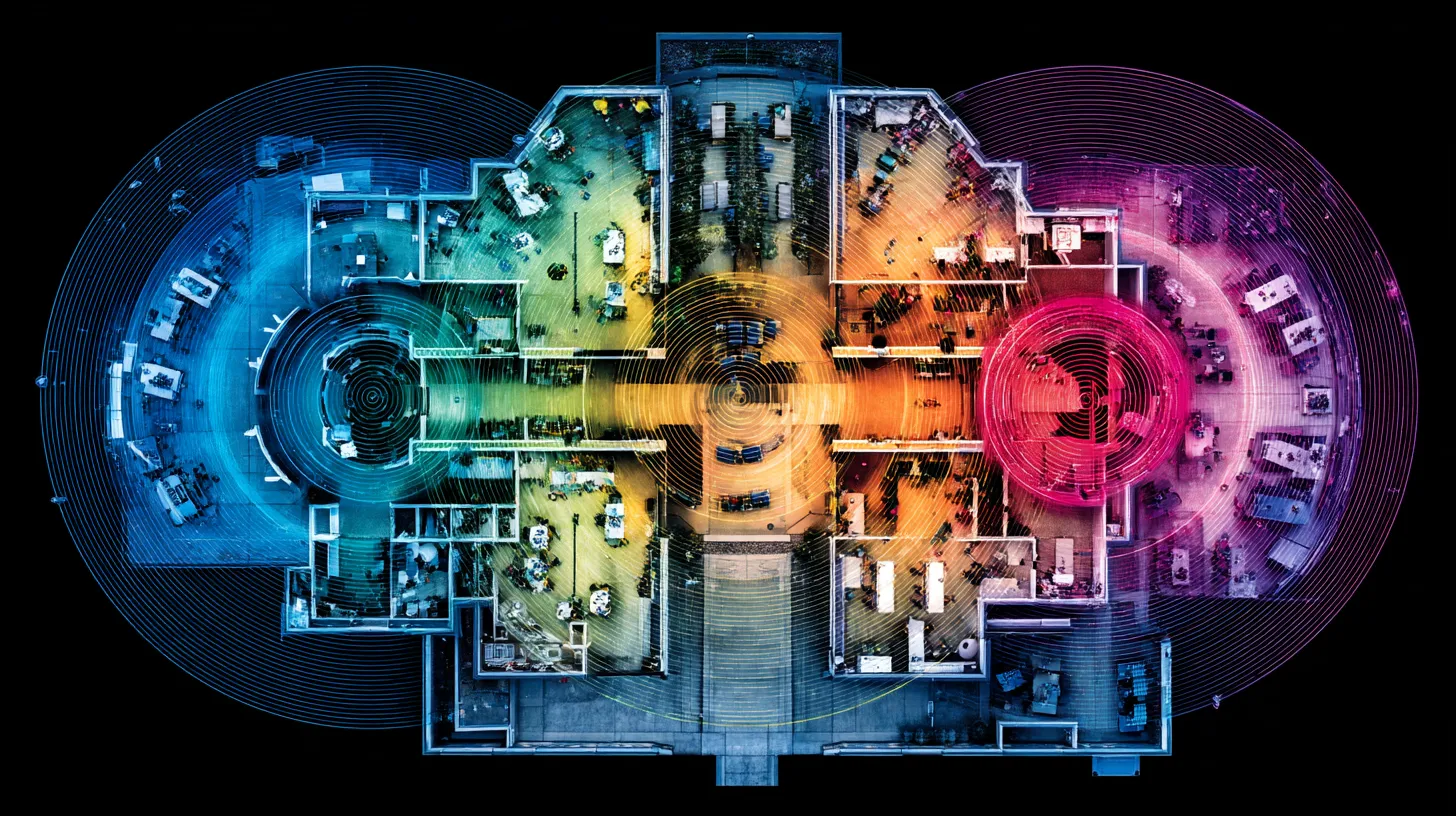
Design for Comprehensive Coverage and Capacity 📶
- Think Density, Not Just Distance: Plan for high-density usage in congested areas. A single access point’s signal might cover a classroom, but that doesn’t mean it can handle the device density in that room. If 30 students each have 2 devices connected, that’s 60 client devices in one class! Ensure you have enough AP capacity (and possibly multiple APs or specialized high-density APs) in areas like auditoriums, cafeterias, lecture halls, libraries, and dorm lounges where many users connect at once. Plan for peak usage – for instance, if every student in the cafeteria starts streaming a video during lunch, or if hundreds of devices connect during an all-school assembly. A good practice is to design for the maximum expected client count per area, not the average.
- Optimal AP Placement: Create a detailed floor plan marking proposed access point locations. Aim to provide overlapping coverage for seamless roaming (especially important on a college campus where students walk between buildings on Wi-Fi). Place APs in central, elevated locations in rooms (ceiling-mounted is typical in classrooms and hallways). Avoid obstructions – thick walls, metal cabinets, or tinted glass can weaken signals. In high-ceiling spaces like gyms or auditoriums, you may need directional antennas pointing toward the users. If your school spans multiple buildings, also consider outdoor APs or point-to-point wireless bridges to connect buildings without fiber (common for portable classrooms or athletic facilities). Use the site survey data: if a particular corner classroom had low signal, plan an AP nearby. If one building has known interference, consider more APs or different antenna types there.
- Channel Planning and Interference: In dense deployments, adjacent APs should operate on non-overlapping channels to minimize interference (especially for 2.4 GHz, which only has 3 non-overlapping channels). Modern Wi-Fi 5/6 systems with controllers or cloud management can auto-adjust channels and transmit power, but it’s still wise to design with channel reuse in mind. Also account for external interference – for example, neighboring apartment buildings or businesses (in a college town) could have their own Wi-Fi. Pro tip: avoid the outdated “one AP per classroom” rule of thumb without validation. Simply throwing an AP in every room can backfire: too many APs crammed together on the same channels will interfere and degrade performance, not to mention waste budget. One enterprise AP can often serve multiple classrooms if properly placed and tuned. As wireless engineer Rowell Dionicio notes, “one access point is capable of servicing more than the number of devices in a typical classroom”, so adding APs beyond what’s needed is a costly mistake.
- Dual-Band (or Tri-Band) Coverage: Ensure your design takes advantage of the 5 GHz band (and 6 GHz if using Wi-Fi 6E), not just the crowded 2.4 GHz band. Virtually all modern devices support 5 GHz, which offers much greater capacity. Plan for primary coverage on 5 GHz – many engineers aim such that no user ever needs to connect on 2.4 GHz except legacy devices. This might mean having slightly smaller cell sizes (since higher frequencies cover shorter distances) and more APs than a pure coverage design. If using Wi-Fi 6E, the 6 GHz band adds even more spectrum (ideal for dense dorms or large lecture halls). Encourage or configure devices to use these higher bands. Additionally, when selecting devices like IoT or tablets, avoid 2.4 GHz-only devices – require dual-band radios so they don’t become bottlenecks on the slower band.
- Outdoor and Special Coverage: If your campus includes outdoor areas for learning or gathering (e.g. a quad, stadium, or parking lot for events), include weatherproof outdoor APs in the design. These can be mounted on exterior walls or poles to provide Wi-Fi in courtyards or athletic fields (great for outdoor classes or community events). For large outdoor events (like a football game), you might use temporary high-capacity APs or cell-based Wi-Fi on wheels. Ensure any outdoor units are secured and within your network’s management.
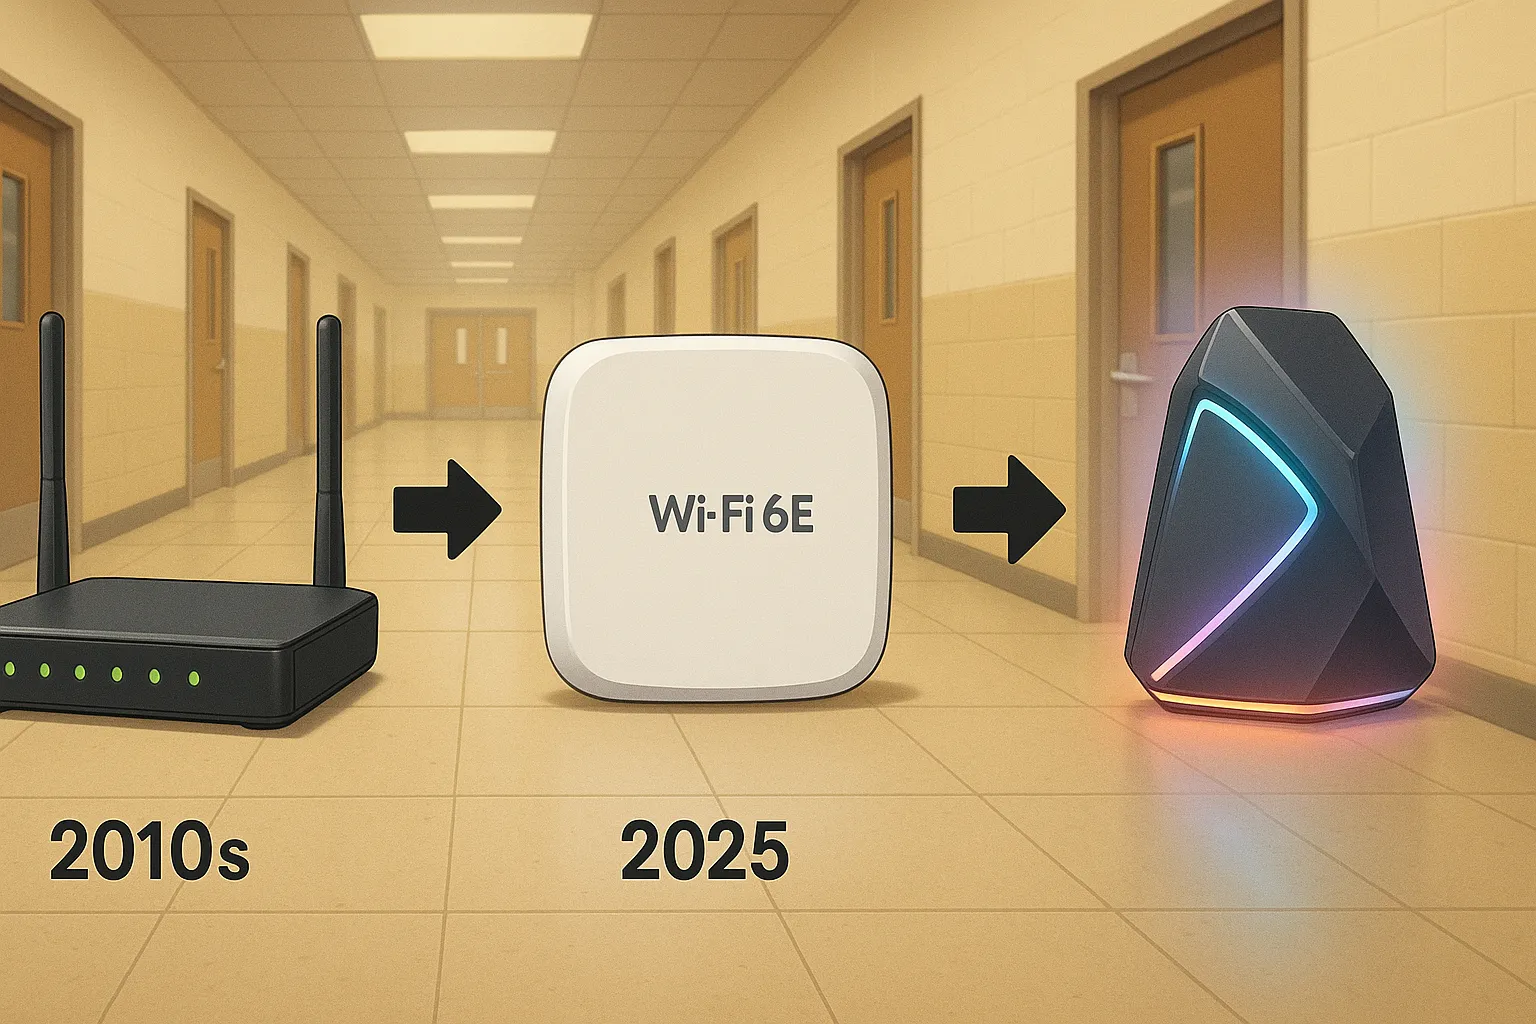
Upgrade to Modern Wi-Fi 6/6E Equipment and Robust Infrastructure 🚀
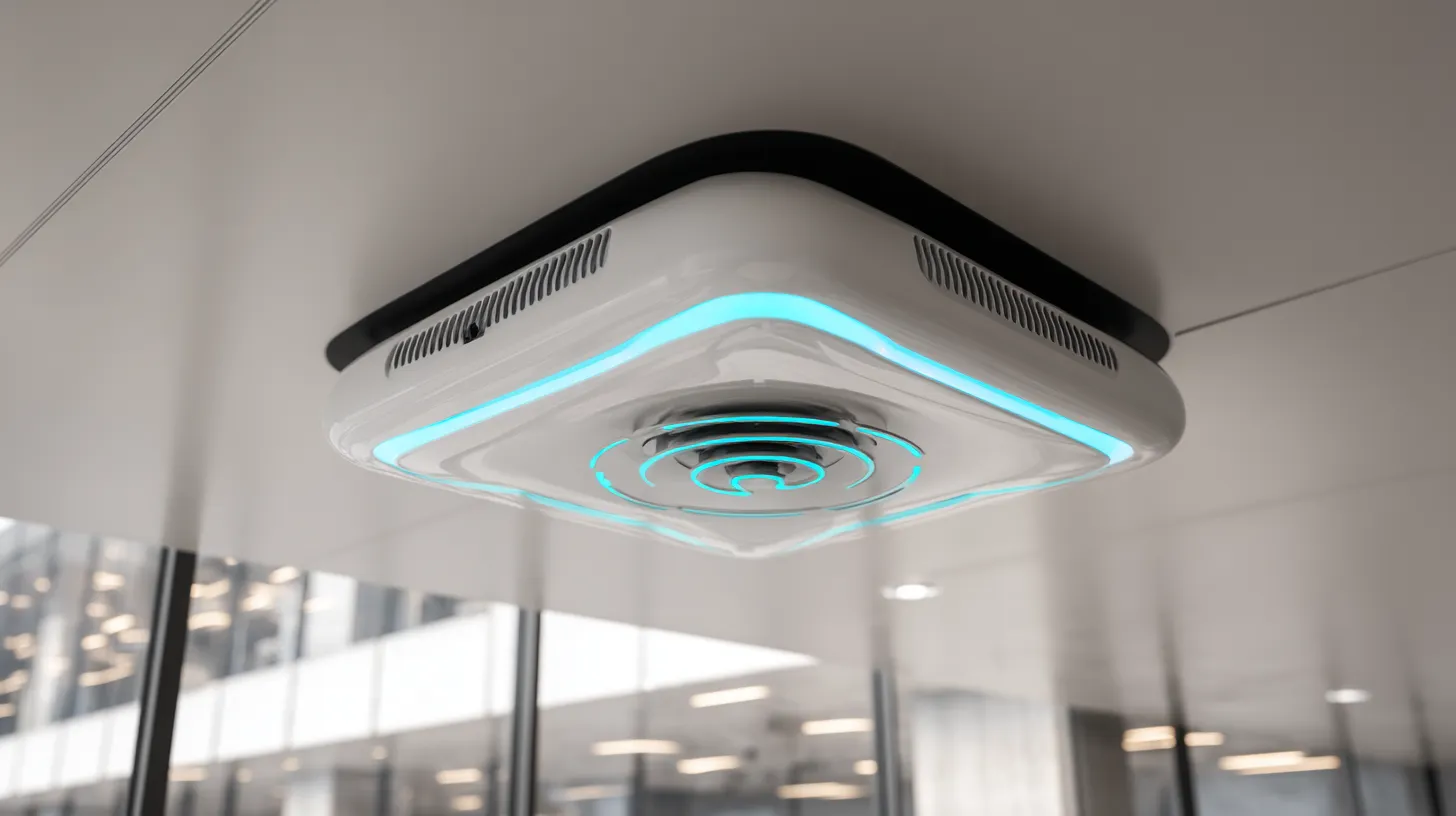
- Choose Enterprise-Grade Access Points: Select high-quality access points designed for campus use. Avoid low-end or consumer routers – they won’t cope with hundreds of users. Look for Wi-Fi 6 or 6E APs with features like MU-MIMO and OFDMA (which help serve many devices at once). Also consider AP specs: enterprise APs often have multiple radios (for 2.4, 5, and 6 GHz), and support for 30+, 50+, or even 100+ concurrent clients each (vendor specs will guide this). Importantly, note the radio stream count: for example, a 4×4 MIMO AP (4 transmit/4 receive streams) can handle substantially more traffic than a 2×2 AP. In fact, upgrading from older 2×2 Wi-Fi 5 APs to 4×4 Wi-Fi 6 APs can “handle twice the number of clients while delivering the same performance”. So, ensure you’re buying AP models suited for high-density use – typically 4×4 or 8×8 MU-MIMO for education environments. Campus-grade APs may cost more upfront but are built to manage heavy loads and have better antennas and components (resulting in stronger, more reliable coverage).
- Controller or Cloud Management: Decide how you will manage the APs. Many modern systems use a cloud-based controller (from vendors like Meraki, Ubiquiti, Ruckus, etc.) or an on-premises controller appliance. Cloud-managed Wi-Fi is popular in K–12 and higher ed because it simplifies oversight – you get a “single pane of glass” dashboard to configure SSIDs, monitor performance, and push updates to all APs at once. This centralized management is a life-saver for small IT teams, letting you catch issues and tweak settings across campuses without going AP to AP. For example, Pinpoint Tech (an IT provider in Chillicothe, MO) often deploys cloud-managed Wi-Fi for schools so administrators can easily see every access point’s status and even receive alerts on outages or unusual traffic. Cloud systems also facilitate scaling (just plug in a new AP and adopt it via the cloud) and can reduce the need for onsite controller hardware. Whichever route you choose, ensure it’s secure and supports features you need (like role-based access control, usage reports, etc.).
- Robust Wired Backbone: A wireless network is only as strong as its wired backhaul. Upgrading Wi-Fi without upgrading switches and cabling is a common mistake that will bottleneck performance. Review your network infrastructure: Do your network switches have enough PoE capacity to power all the new APs? New Wi-Fi 6 APs often require PoE+ (802.3at, ~30W) rather than old PoE (802.3af, ~15W). Ensure Power over Ethernet ports on switches can supply sufficient wattage and that you have enough ports for additional APs. You might need to install new switches or additional power injectors to support a large AP rollout. Also consider link speeds: Each Wi-Fi 6 AP can potentially exceed 1 Gbps throughput, so using 2.5 Gbps or 5 Gbps uplink ports (multigig) on switches, or at least link aggregation, is wise for high-end AP models. Next, check cabling: older Cat5 cabling might not reliably support multigig speeds or PoE+ over longer distances. It may be necessary to pull Cat6 or Cat6A cables to each AP location for full performance and future 10G needs. And finally, evaluate your internet bandwidth: an amazing Wi-Fi network will still feel slow if your WAN link is saturated. The FCC’s broadband goal for schools is at least 1 Mbps per student of internet capacity (and some districts target 2+ Mbps/student). Many U.S. school districts have been steadily increasing bandwidth and now 59% meet the 1 Mbps/student benchmark. Check with your ISP about upgrading to fiber or higher tiers if needed – especially for a college campus where hundreds of users might concurrently stream or video conference.
- Quality and Reliability: Schools in Chillicothe and similar communities know that budget is important – but cutting corners on Wi-Fi gear can cost more in the long run. Invest in reliable brands and support contracts. Education-focused discounts or E-Rate eligible models can help manage costs. Also consider redundancy for critical areas: for instance, having a spare AP or two for quick replacements, redundant uplinks between wiring closets, or even backup internet (LTE/5G modem) for emergency connectivity. The goal is a network that stays up during school hours without fail. Many colleges treat campus Wi-Fi like a utility – with uptime goals of 99.9%+. Your design could include a backup wireless controller or failover mechanism if the primary goes down (some cloud systems have this inherently).
- Future-Proofing Tech: As a best practice, try to deploy the latest wireless technology your budget allows, since it will serve you longer. A SonicWall education tech brief states it well: “Ensure that you deploy the latest wireless technology in your schools. Future-proofing secure Wi-Fi is the best way to get your money’s worth long term while providing the best user experience.” This means choosing Wi-Fi 6/6E in 2025, and keeping an eye on Wi-Fi 7 on the horizon for down the road. It’s not just about Wi-Fi standards: consider upcoming needs like IoT (will you need a separate SSID or network for smart HVAC systems or IP cameras?), and design some overhead capacity so that in 2–3 years you can support even more devices and data without starting from scratch.
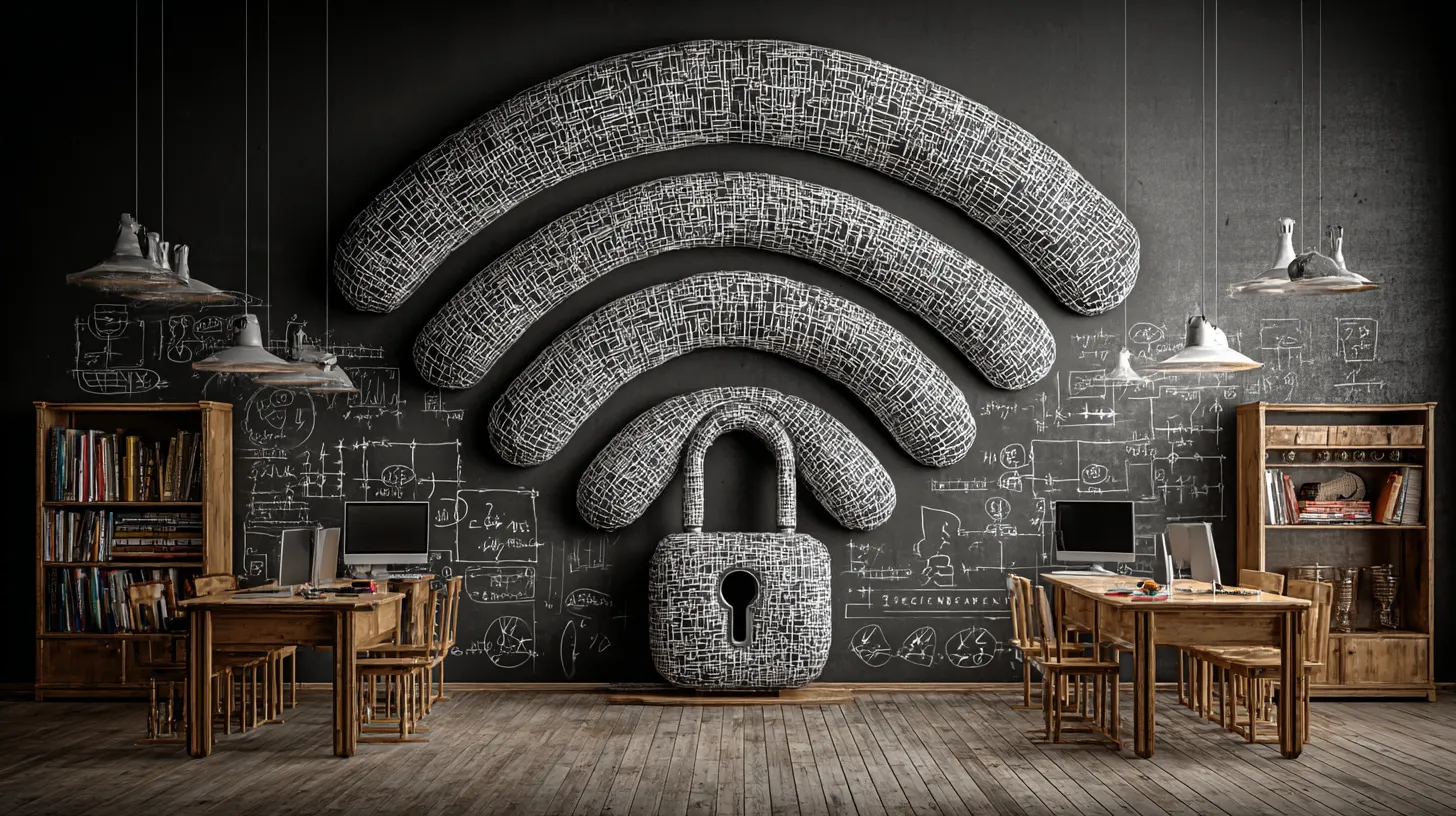
Implement Strong Security, Access Controls, and Content Filtering 🔒
- Secure Authentication (WPA2/WPA3): Open or poorly secured Wi-Fi is a non-starter in 2025. Use at least WPA2-PSK (Pre-Shared Key) with a strong password for smaller environments, or ideally WPA2-Enterprise / WPA3-Enterprise with 802.1X authentication for larger campuses. Enterprise authentication (using a RADIUS server tied to your directory of students/staff) lets you issue unique credentials or certificates per user/device. This prevents the Wi-Fi password from being shared publicly and allows fine-grained control (you can de-authorize a single user without affecting others). Many K-12 schools use a simplified certificate onboarding or username/password tied to Google Workspace or Active Directory logins so that students use their school account to get on Wi-Fi. Universities often federate with eduroam (allowing visiting academics to connect using home campus credentials). At minimum, pick a long, complex WPA2 Pre-Shared Key and change it periodically if not using 802.1X. Guest networks can be open or use a simple captive portal, but isolate them from internal traffic.
- Network Segmentation & Access Control: It’s a best practice to segment your Wi-Fi into multiple SSIDs or VLANs for different user groups. For example, have separate networks for students, faculty/staff, guests, and IoT/devices. Each can be mapped to its own VLAN with appropriate firewall rules. Students might get internet access but be restricted from sensitive internal servers; staff can have fewer restrictions; guest Wi-Fi likely only allows web browsing out to the internet. Role-based access control ensures each user or device only reaches what they’re permitted. Many school-focused wireless systems integrate with directory groups – e.g. when a teacher logs in, they automatically get placed in the “Staff” role/VLAN. For IoT like smart thermostats or lab sensors, consider a dedicated network segment as well, since these devices often don’t need access to student data. Tip: Make sure to disable inter-user traffic (client isolation) on the guest network so guests cannot snoop on each other, and require guest users to re-authenticate regularly if you provide temporary access codes.
- Content Filtering (CIPA Compliance): K-12 institutions in the U.S. are legally required to filter and block inappropriate content for students under the Children’s Internet Protection Act (CIPA). Any school receiving E-Rate funding “must certify that the school is enforcing an internet safety policy that includes measures to filter internet access” for minors and adults on its network. Even aside from compliance, it’s good practice to use a web content filtering system to block malware, adult content, gambling, hate, or other categories you deem off-limits on student Wi-Fi. Many firewall or security appliance solutions (like SonicWall, Cisco, etc.) offer integrated content filtering that applies to all web traffic from the Wi-Fi. The filter can be set to enforce SafeSearch, block certain websites or keywords, and guard against known malicious sites. As one guide notes, “Wi-Fi is an easy gateway for malicious attacks. It must be protected with the right encryption and security mechanisms. Create granular policies to ensure students are protected against malicious or non-reputable websites.” In practice, this means your IT team should configure content filter policies (e.g. allow educational YouTube but block explicit content, etc.) and apply them especially to the student and guest networks. Be sure to inform users that filtering is in place (and have a process for unblocking legitimate educational content if it’s over-blocked).
- Firewall and Threat Protection: In a campus environment, your Wi-Fi will carry tons of traffic – some of which may be unwanted or dangerous. Deploy a next-generation firewall (NGFW) or unified threat management device at the network edge to inspect traffic coming in and out. This firewall should enforce the segmentation (between VLANs) and provide intrusion detection/prevention to catch any malware spreading or suspicious behavior (like a student’s infected laptop scanning the network). Many schools integrate firewall control with the wireless system, so they can, for example, throttle bandwidth for certain applications or prioritize traffic for learning management systems. Regularly update your security appliance signatures and review logs for any strange activity.
- Physical and Network Access Security: Don’t overlook simple security measures. Mount APs in secure locations (on ceilings, out of easy reach) to prevent tampering. Lock network closets and only allow authorized IT staff to access switches. Use strong admin passwords on all networking gear and keep firmware up to date (security patches often fix vulnerabilities in APs/routers). Also consider enabling Client Isolation on student and guest SSIDs – this prevents one user’s device from directly reaching another’s device over Wi-Fi (which can block person-to-person malware spread or snooping). In higher ed dorm networks, client isolation is common so that students cannot see each other’s devices on the network.
- Policies and Training: A wireless network is only as safe as its users. Develop an Acceptable Use Policy (AUP) for internet use on campus, and have students and staff acknowledge it. The policy should cover things like not disabling device firewalls, not connecting rogue routers (e.g. a student plugging in their own Wi-Fi router in a dorm, which can interfere and create a security hole), and not bypassing filters or engaging in illegal downloads. Educate students about basic digital safety – for instance, warn against connecting to unknown “Free Public Wi-Fi” SSIDs that might show up around campus, as those could be malicious. Some schools even schedule digital citizenship sessions to teach safe online behavior (which can tie into CIPA’s requirement to educate minors about appropriate online interaction).
- Monitoring and Response: Set up monitoring alerts for security events on your Wi-Fi. Many systems can alert if a rogue AP is detected (an unauthorized wireless signal in your vicinity using your SSID), or if a user tries to visit blocked sites. Have an incident response plan for Wi-Fi – e.g., if a breach is detected or if someone cracks the Wi-Fi password and abuses it, how will you respond (change keys, etc.). Regularly review which devices are connected; you might spot an unknown device on a staff network and discover an intruder or simply an unapproved personal device that needs to be moved to the guest network.
Plan for Scalability and Future Growth 🔮
Educational technology is ever-evolving – and so must your Wi-Fi network. Designing for the present is not enough; you should also anticipate future needs. A robust school or campus wireless network should be scalable (able to handle growing usage) and adaptable to new technologies. Consider these forward-looking best practices:
- Overbuild (Slightly) for Headroom: If your current analysis says you need, say, 20 access points to meet demand, it might be wise to deploy a few extra or choose AP models with some extra capacity. User device counts and bandwidth consumption tend to increase every year. New educational apps or digital curricula can suddenly spike traffic. By building in a cushion (perhaps planning for 20-30% more capacity than today’s usage), you’ll be better prepared for surges or future programs. It’s easier to deploy the headroom now than to retrofit later. For instance, if your high school is 1:1 with iPads today, next year those iPads might use higher-resolution video or new adaptive testing software that doubles bandwidth needs. Aim to scale up seamlessly – e.g., choose a controller that can handle double the APs you deploy initially, so adding units later is straightforward.
- Regular Reviews and Surveys: Don’t treat Wi-Fi as “set it and forget it.” Plan to re-assess your network every year or before any major initiative. Perform annual site surveys or use built-in analytics from your Wi-Fi system to see if certain APs are consistently overloaded or if new dead spots have appeared (perhaps due to building renovations or new interference sources). Talk to teachers and students; gather feedback on any connectivity issues. By catching trends (like steadily rising usage in the evenings at a college library, or new coverage complaints in a remodeled wing), you can address them proactively with additional APs or configuration tweaks. Many IT directors schedule a full network health check each summer in preparation for the new school year.
- Scheduled Upgrades and Lifecycle: Plan out a hardware refresh cycle for your wireless network. Wi-Fi technology leaps happen every 4-6 years, and vendor support for AP models typically lasts ~5-7 years. An old tip is that your “wireless network design needs to be updated every 3-4 years” to keep up with evolving devices and applications. While you might not rip-and-replace that often, you should budget for incremental upgrades. For example, you could adopt a rolling upgrade: replace one-third of your APs each year so that in a 3-year span, all are renewed to newer models – ensuring no AP is older than 3 years. Or upgrade key areas first (like new Wi-Fi 6E APs in the busiest areas, while leaving lightly-used areas on older gear until needed). Importantly, keep firmware updated on your APs and controllers – these updates not only patch security issues but often improve performance and support new client devices. Treat Wi-Fi like any other critical infrastructure: allocate funds for periodic improvements. Many districts use E-Rate Category 2 funding on a five-year cycle to refresh network hardware, essentially planning network investments in five-year windows aligned with E-Rate budget periods.
- Emerging Technologies: Stay informed about new wireless technologies that could benefit your school. For instance, Wi-Fi 6E is relatively new – if you haven’t deployed it yet, consider a trial in a high-density area (like a university lecture hall) to see the performance gains on 6 GHz. Looking ahead, Wi-Fi 7 is on the horizon (promising even lower latency and faster speeds). While it’s not necessary to jump on every new standard immediately, knowing the roadmap helps in planning. Other tech like CBRS (private LTE/5G) has started appearing in some colleges for IoT or wide-area coverage – perhaps not on the radar for most K-12, but worth watching for niche needs (like connecting a fleet of school buses or covering an entire rural campus). Even improvements in software – like AI-driven network optimization – could play a role in your future upgrades (some systems now automatically optimize RF settings based on AI analysis).
- Capacity for New Programs: Be mindful of your school or college’s strategic plans. If there’s a push for more STEM classes, they may introduce VR devices or robotics that rely on Wi-Fi. If a “flipped classroom” model is adopted, students might all stream video lectures at once. Or a university may plan to expand student enrollment, meaning more bodies (and devices) on campus. Align IT planning with these initiatives. Engage with academic leadership so you get a heads-up about programs that will depend on connectivity. This way, you can scale up the network before issues arise.
- Environmental and Local Factors: If you’re in a region like Chillicothe (north-central Missouri), consider any local factors that could impact your network long-term. For example, severe weather might cause power outages – do you have UPS backup on your network gear? Rural areas might face limited high-speed ISP options – stay in touch with providers about upcoming fiber projects. If your campus is expanding with new buildings or modular classrooms, run conduit and cabling for networking early in construction. Scalability isn’t just tech specs – it’s planning holistically for your environment.
Think long-term: The goal is a Wi-Fi network that not only meets today’s requirements but can adapt and grow for years to come. By budgeting for upgrades, monitoring usage trends, and keeping an eye on new tech, your school or university will avoid falling behind. This proactive approach means you won’t be scrambling when the next big demand hits – whether it’s a sudden shift to remote/hybrid learning (as many experienced in 2020) or simply the steady march of more devices and digital tools in the classroom. A little foresight goes a long way toward a future-ready network.

Deploy, Test, and Optimize Your Wireless Network 📊
With careful planning, design, modern equipment, and security in place, the next step is the actual deployment and testing of your school Wi-Fi network. How you roll out and fine-tune the network can make the difference between a smooth launch and a frustrating one. Treat this as a formal phase – much like you would test fire alarms or new buses before use, you need to test the Wi-Fi extensively before declaring it production-ready for all students and staff. Use this mini-checklist during deployment:
- Professional Installation: If possible, have experienced network installers handle the AP mounting, cabling, and switch configuration. Ensure APs are mounted securely (usually on ceiling brackets or T-rail clips for drop ceilings) and in the exact planned locations. Label cables and ports for each AP for easier troubleshooting later. Adhere to building codes, and if any AP locations changed during install (due to practical issues like power outlet access or obstructions), document the new placement on your floor map.
- Configuration Consistency: Set up your SSIDs and configurations in the controller before turning on all APs to the public. Verify that the student, staff, guest networks etc. are correctly named and secured (no typos in passphrases, proper RADIUS server settings if used, VLAN tags correct on switches, etc.). It’s easier to fix configuration issues now than after everyone is using it. If using a controller, you can configure one test AP fully and then push that config template to all others. Double-check network segmentation rules: e.g. a student device on the student SSID should get a DHCP address from the student VLAN and have internet but no access to staff-only IP ranges.
- Signal Testing (Coverage Verification): Once all APs are installed and broadcasting, perform another site survey or walkthrough with a Wi-Fi analyzer app. Verify that every intended coverage area indeed has strong signal (e.g. at least -65 dBm or better for general usage). Check previously identified trouble spots: that corner of the cafeteria or the far end of the football field – do you now see a solid signal there? It can be useful to test with multiple device types (a laptop, a tablet, a smartphone) to see real-world signal and speed, as their antennas differ. If you find any dead zones or weak coverage areas that were missed, you might need to adjust (e.g. rotate an AP’s antenna orientation, or in rare cases, add a small secondary AP). Ideally, use a floor plan app to heatmap the signal after deployment and compare to your predictive map.
- Capacity and Speed Testing: Stress-test the network before users arrive. This can be done by having a bunch of test devices (or a few high-performance laptops) simulate load. For example, connect 30 devices in one classroom and run a speed test or HD video stream on all of them simultaneously. Does the network (and your internet bandwidth) hold up? Try moving a client between areas to test roaming (walk with a video stream from one end of campus to another if possible, seeing if it hands off between APs without dropping). Measure throughput in various scenarios: one device in the room vs. many devices, 5 GHz vs. 2.4 GHz (you might see 2.4 is much slower or congested – which is expected). Use testing tools or services during off-hours – some districts do a “network load day” where IT staff or students volunteers help saturate the Wi-Fi to observe performance. If you discover, say, that the auditorium can’t handle full capacity streaming, you might re-tune settings (like enabling multicast rate optimization or adding a temporary AP for large events).
- AP Tuning: After initial tests, consider optimizing radio settings on the APs. Many deployments work fine on auto-channel and auto-power settings out of the box. But sometimes tweaking is needed: e.g., if two adjacent APs on the floor both chose channel 36 and are interfering, manually set one to channel 44. Or if you notice far too many clients stick to one AP when another is nearby, you might enable band-steering (to push clients to 5 GHz) or lower the transmit power on APs to shrink their cell and encourage clients to roam to closer APs. In crowded networks, disabling lower data rates can improve overall capacity (clients then connect at faster rates or not at all, which reduces airtime usage – though be careful if you still have very old devices that need those slower rates). Document any changes you make from default, so you can revert or understand them later.
- User Acceptance Testing: Before “flipping the switch” for everyone, do a pilot with a small group of users. Perhaps allow the teachers or a single grade level to use the new Wi-Fi for a week and gather feedback. Are they experiencing any connectivity drops? Any applications not working (e.g. some security filter blocking an educational app mistakenly)? Sometimes this flushes out issues like “the new Wi-Fi blocks our projector from connecting to teacher laptops” (which might indicate a multicast or device discovery issue across VLANs). Resolve any kinks discovered in the pilot.
- Launch Communication: When ready to go live, inform the school community. Provide instructions for connecting (especially if moving to a new SSID or using certificates – give a step-by-step guide to students and staff). If possible, have IT staff on standby in the first days after launch to assist anyone with issues (often it might be as simple as updating an older device’s Wi-Fi driver or removing an old network profile). It’s helpful to communicate the benefits of the new network (“We’ve doubled our bandwidth and added more APs, so you should see faster speeds and no dead zones – let us know if you experience any issue!”), which also sets an expectation that you want feedback.
Optimizing a wireless network is an ongoing process, but most heavy tweaking happens in this deployment phase. Don’t be discouraged if you need a few adjustment rounds – even seasoned engineers often fine-tune AP placement or settings after initial tests. The key is to do this before high-stakes usage (like before online exams or the first day of class) so that end-users have a seamless experience from day one.
Finally, celebrate a bit – getting a campus-wide Wi-Fi network up and running is a big accomplishment! But your work isn’t done; it transitions into the maintenance phase which we cover next.

Monitor, Maintain, and Support the Network Continuously 🔧
Once your reliable wireless network is in place, the focus shifts to keeping it running optimally. Just like any critical infrastructure, a school Wi-Fi network requires ongoing maintenance and proactive monitoring to sustain performance. School and campus IT teams (often stretched thin) can leverage smart tools and set clear processes to manage this. Here’s how to maintain your Wi-Fi for the long haul:
- Continuous Monitoring: Take advantage of your wireless controller or management dashboard to keep an eye on network health in real time. Set up dashboards to watch metrics like AP uptime, client count per AP, bandwidth usage, and interference levels. Many systems allow email/SMS alerts – configure these for critical events (AP down, internet link down, etc.) so you can respond quickly. Having a “single-pane-of-glass” management console with real-time analytics is extremely valuable. It enables your team to be proactive rather than reactive – for example, you might notice an AP near the cafeteria hitting 100% utilization every day at noon and decide to add another AP there before teachers complain. Some cloud-managed solutions even utilize AI to flag anomalies (like “this AP’s performance is 20% worse than others”). Regularly review usage reports: see which locations consume the most bandwidth or if any odd devices are hogging traffic.
- Routine Maintenance Tasks: Schedule periodic checks and maintenance just as you would for servers. This includes: updating firmware on APs and controllers (aim for at least once or twice a year after vetting stability), rebooting devices if needed during maintenance windows to clear any memory leaks, checking cable connections and AP mounts (especially any outdoor APs after storms, etc.), and replacing any failed hardware promptly (keep a few spare APs and critical switch hardware on hand if possible). Also monitor your backup power (UPS batteries) for the network closets – ensure they’re functional so a brief power glitch doesn’t take down your Wi-Fi.
- Support and Help Desk: Make it easy for users to report Wi-Fi issues. Often, students might just live with a poor connection in one spot if they don’t know whom to tell. Create a simple channel (an email like wifi@school.edu or a Google Form) for reporting connectivity problems. This can alert you to emerging issues (“Wi-Fi is weak in Room 207”) that you might not catch otherwise. Train your help desk or media specialist on basic Wi-Fi troubleshooting: verifying the user’s device settings, checking if they’re on the correct SSID, ensuring their device’s wireless drivers are updated (outdated drivers can cause connectivity bugs). Sometimes what appears to be a Wi-Fi issue is actually a device issue (e.g. a student’s laptop has a faulty wireless card) – your team should be ready to diagnose that.
- Performance Tuning: Use the data from monitoring to adjust and improve. If certain APs are overutilized while others are idle, consider load balancing (many systems can push some clients to a neighboring AP if one is overloaded). If you see certain times of day with spikes (like lots of video calls every morning), maybe implement QoS (Quality of Service) rules to ensure academic traffic gets priority over, say, entertainment streaming. Watch the frequency band usage – if 2.4 GHz is still crowded with legacy devices, try to migrate those or further encourage 5 GHz usage (perhaps by making the 2.4 GHz SSID hidden or by educating users to get rid of old 2.4-only personal devices). Periodically review your content filtering logs as well – you might need to adjust categories or unblock legitimate resources that teachers request.
- Documentation: Keep your network documentation up to date. This includes the network diagram, IP addressing scheme, lists of equipment and their locations, configuration backups, and even the Wi-Fi heatmaps. Up-to-date docs are a lifesaver when troubleshooting or when new IT staff come on board. Document any changes you implement during maintenance (e.g. “In Sept 2025, upgraded AP firmware to version X, adjusted channel width in high school wing to 20 MHz to reduce interference” – this will help if an issue arises and you need to trace back steps).
- Training and Professional Development: Encourage your IT staff (or yourself, if you’re the one-man/woman IT shop) to stay current with networking know-how. Attend ed-tech network webinars, manufacturer trainings, or join communities like eduroam or K-12 networking forums. Networking best practices evolve, and learning from peers (what are other Missouri schools doing for BYOD? How do universities handle dorm Wi-Fi with gaming devices?) can provide new ideas to improve your own network. If managing the Wi-Fi becomes overwhelming, consider reaching out to a managed service provider (like Pinpoint Tech or others) for managed Wi-Fi services, where experts can handle the heavy lifting of monitoring, updates, and troubleshooting under a support contract.
- Plan for the Next Upgrade: Finally, maintenance includes thinking ahead to the next big upgrade. Keep notes on pain points that you couldn’t solve this round, and successes that you want to replicate. Track the lifecycle – for example, if you installed Wi-Fi 6 APs in 2024, start researching by 2027 what Wi-Fi 7 or 8 might offer and budget accordingly. Use available funding programs: E-Rate, state grants, or even ESSER funds (as some used for connectivity improvements) can subsidize future upgrades. And remember to celebrate the wins – if your metrics show that after your Wi-Fi overhaul, student connectivity issues dropped by 80%, share that with school leadership. A reliable network often goes unnoticed (which is a compliment), but it’s nice to highlight that the planning and maintenance is enabling uninterrupted learning for everyone.
By diligently monitoring and caring for the network, you’ll extend its life and ensure it consistently meets the needs of your educational community. Your campus Wi-Fi will essentially become as dependable as electricity – something users can almost take for granted, because it just works. And when the next evolution of wireless comes, you’ll be ready to evaluate and integrate it, keeping your K-12 school or college on the cutting edge of connectivity for education.
With this checklist, school administrators and IT directors can confidently navigate the process of setting up a reliable wireless network for both K–12 and higher education settings. Whether you’re upgrading an existing Wi-Fi or building one from scratch, following these steps – needs assessment, smart design, modern hardware, strong security, future-proof planning, thorough testing, and proactive maintenance – will set you up for success. Students in a Chillicothe elementary school or a bustling university in Kansas City both share a common expectation: the Wi-Fi just works when they need it. By checking off each item on this list, you’ll ensure that learning and campus life are enhanced by connectivity, not hindered by it. Good luck, and happy networking!

Frequently Asked Questions (FAQs) – School & Campus Wi-Fi 📚
How much internet bandwidth does a school Wi-Fi network need per student?
How often should a school upgrade or replace its Wi-Fi network?
Should our school or college upgrade to Wi-Fi 6 or Wi-Fi 6E now?
How can schools and colleges pay for Wi-Fi upgrades?
Should we have separate Wi-Fi networks for students, staff, and guests?
Sources
- TechGrid
School Wireless Network Design 2.0 – 10 Campus WiFi Planning Tips
https://techgrid.com/blog/school-wireless-network-design-2-0-5-campus-wi-fi-planning-tips
- EdTech Magazine (Higher Ed)
How Higher Ed Taps Wi-Fi 6E to Expand Wireless Access
https://edtechmagazine.com/higher/article/2024/08/how-higher-ed-taps-wi-fi-6e-expand-wireless-access
- Chillicothe R-II School District
Chillicothe R-II School District Receives Nearly $139,000 in FCC Funds
- Network Computing
WiFi Design Considerations for K-12 Schools
https://www.networkcomputing.com/wi-fi/wifi-design-considerations-for-k-12-schools
- SonicWall
5 Best Practices for Fast, Secure Wi-Fi on K-12 Campuses
https://www.sonicwall.com/blog/5-best-practices-for-fast-secure-wi-fi-on-k-12-campuses
- EdTech Magazine (K–12)
Wi-Fi 6 for K-12 Schools: How to Design Your Network Upgrade
- EducationSuperHighway
K-12 Bandwidth Goals
https://www.educationsuperhighway.org/upgrade/k-12-bandwidth-goals
- Connected Nation
Connect K-12 Report Shows 59% of US School Districts Now Meet FCC Internet Connectivity Benchmark
- Universal Service Administrative Company (USAC)
CIPA – Children’s Internet Protection Act Overview
https://www.usac.org/e-rate/applicant-process/starting-services/cipa